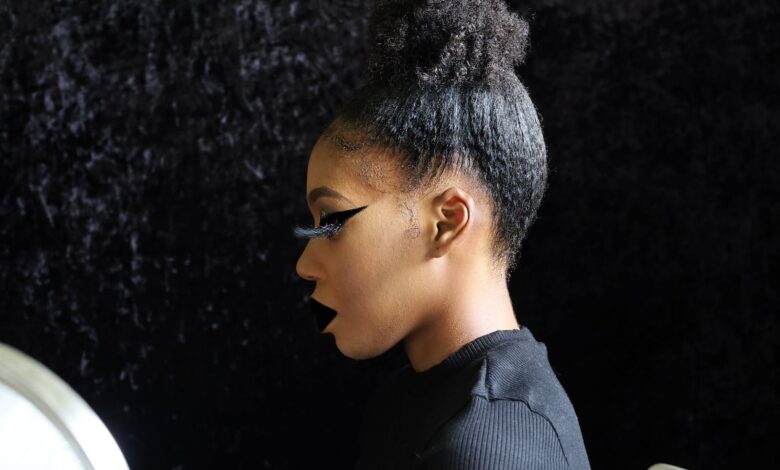
If you’ve ever wanted to enhance your natural lashes for a dramatic and glamorous look, then faux lashes might just be the answer. Whether you’re a beginner or someone who has dabbled with false lashes before, this guide will provide you with all the essential tips and tricks to help you get started on your journey to fabulous lashes. From choosing the right lashes for your eye shape to application techniques, we’ve got you covered. So, get ready to elevate your lash game and turn heads with the mesmerizing flutter of faux lashes.
Choosing the Right False Lashes
When it comes to choosing the right false lashes, one factor to consider is your eye shape. Different eye shapes will suit different styles of false lashes. For example, if you have almond-shaped eyes, you can try out various lash shapes, from natural-looking lashes to more voluminous ones. On the other hand, if you have round eyes, you may want to choose lashes that are longer in the center to create the illusion of length. Knowing your eye shape will help you find the perfect false lashes that will enhance your natural beauty.
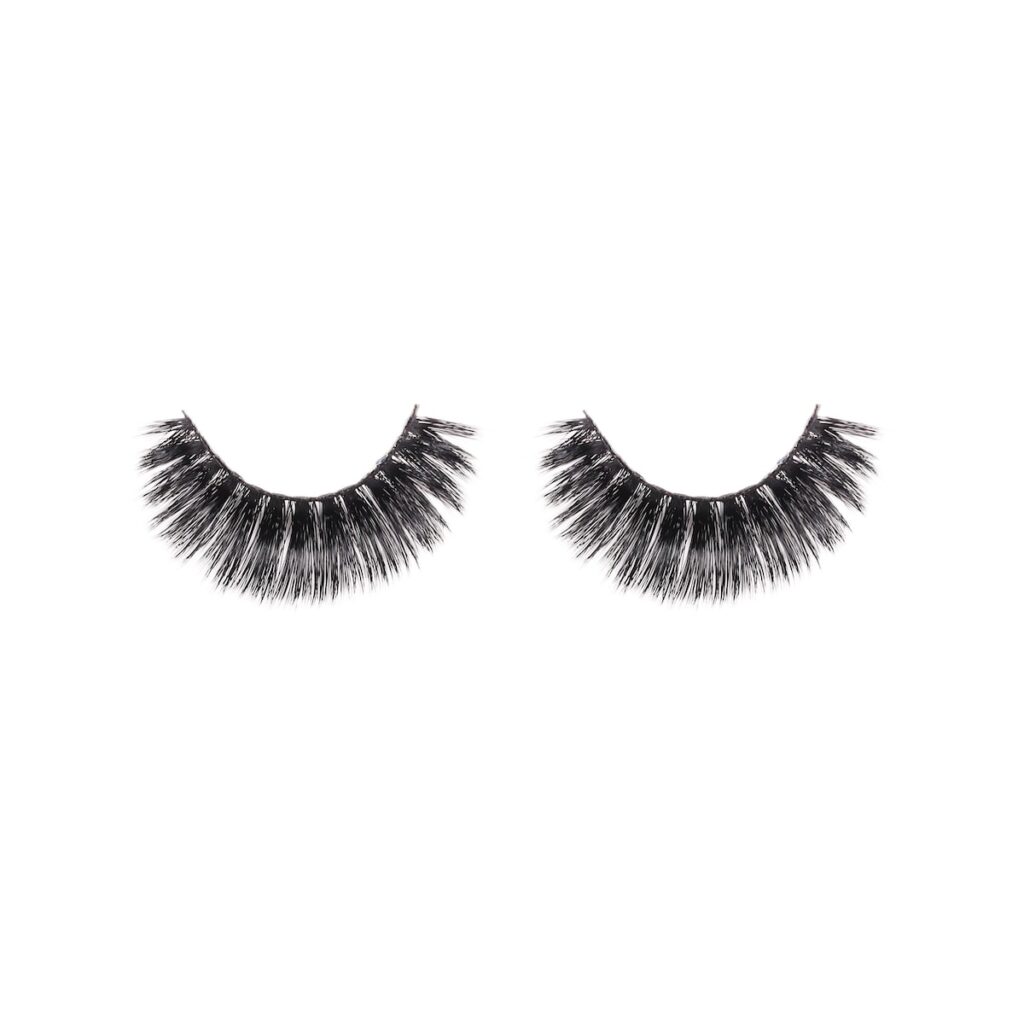
In addition to eye shape, you also need to consider the length and volume of the false lashes. If you want a more natural look, opt for lashes that are shorter in length and have a more subtle volume. These lashes will give you a soft and fluttery effect. On the other hand, if you’re going for a more dramatic and glamorous look, choose lashes that are longer and fuller. These lashes will make a bold statement and give you that extra wow factor. Remember, the length and volume of the false lashes should be in proportion to your natural lash line and eye shape, so choose wisely!
Lastly, think about the lash band type. There are two main types of lash bands: clear bands and black bands. Clear bands are great for a more natural look as they seamlessly blend with your natural lashes. On the other hand, black bands can provide a more dramatic effect, especially if you’re planning to wear eyeliner. Consider your desired look and the overall makeup style you’ll be wearing to determine which lash band type is the best fit for you.
Preparing Your Natural Lashes
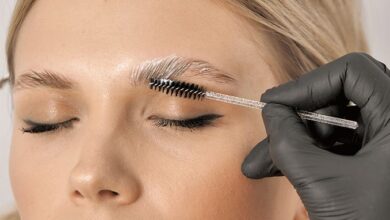
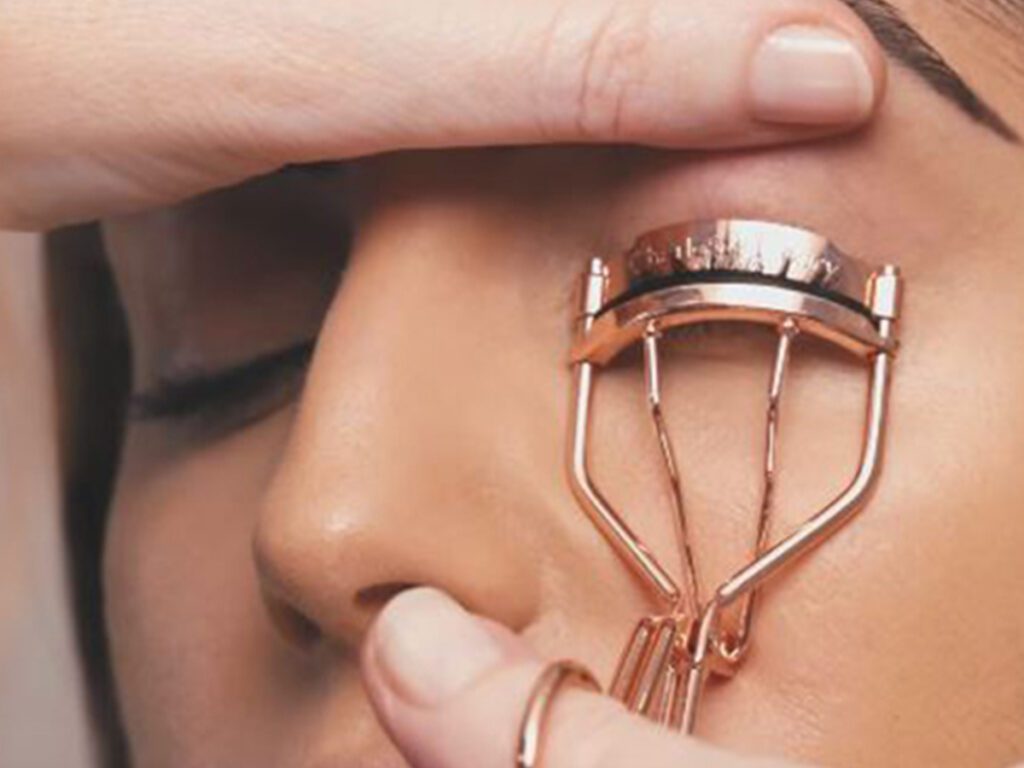
Before applying false lashes, it’s important to prepare your natural lashes so that they can provide a strong base for the faux lashes. Start by curling your natural lashes using an eyelash curler. This will open up your eyes and create a more lifted appearance. If you prefer a more dramatic look, you can apply mascara to your natural lashes. Make sure to wait for the mascara to fully dry before proceeding to the next step.
Once your natural lashes are curled and mascara is applied if desired, it’s crucial to clean them thoroughly. Use a gentle eye makeup remover or micellar water to remove any mascara, dirt, or oils that may be on your lashes. Clean lashes will ensure a better bond between the false lashes and your natural lashes, allowing for a more seamless application and longer-lasting wear.
Trimming and Shaping the False Lashes
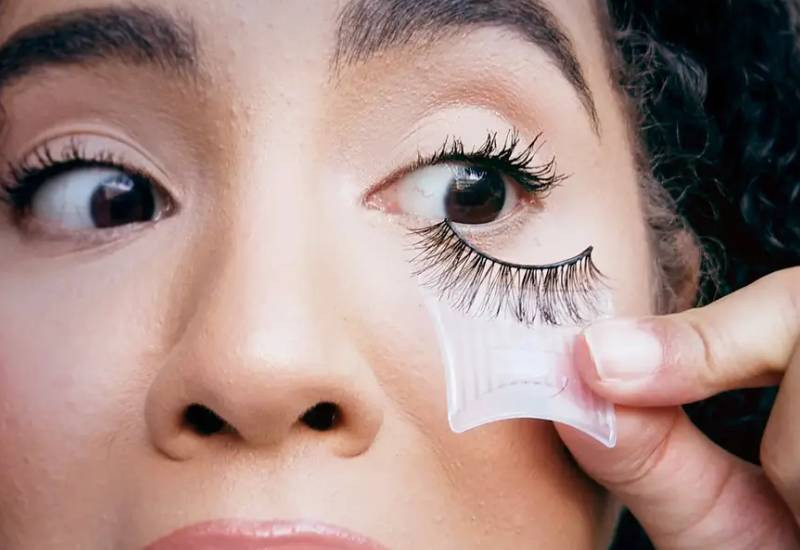
To ensure a perfect fit, you’ll need to trim the false lashes to match the shape and length of your eye. First, measure the lashes against your natural lash line to determine where to trim. Using a pair of sharp, clean scissors, carefully trim the lashes from the outer corner. It’s important to trim a little at a time to avoid cutting off too much. Remember, you can always trim more if needed, but you can’t add length back once it’s cut off.
After trimming, you can shape the lashes to match your eye shape. Gently curve the lash band by wrapping it around your finger or a makeup brush handle. This will help the false lashes fit more comfortably along the curve of your eyelid, enhancing the overall look and ensuring a comfortable wear.
Applying the False Lashes
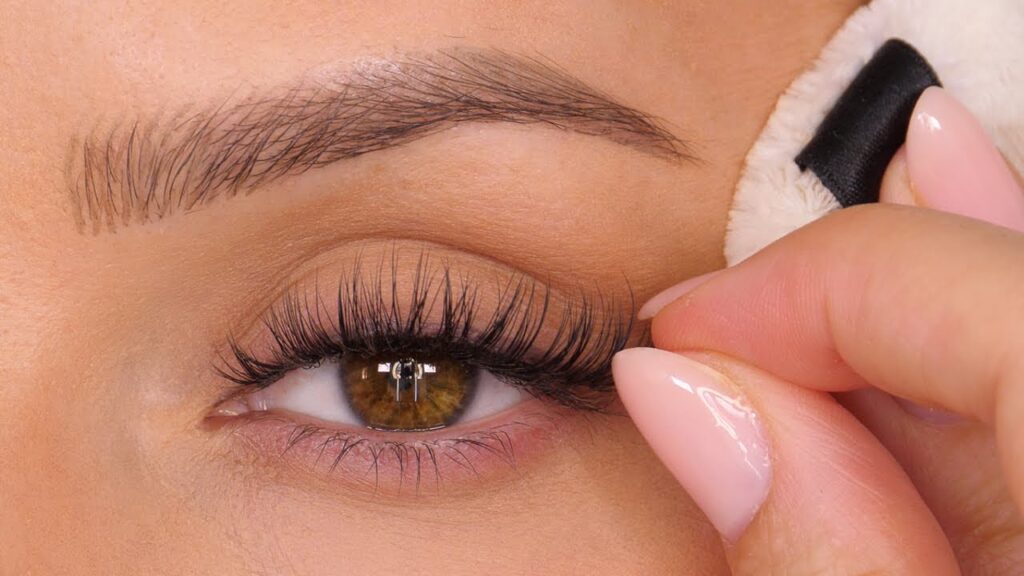
Now that you have the perfect set of false lashes, it’s time to apply them. Start by applying a thin layer of lash glue along the lash band. Be sure to use a high-quality lash glue that is specifically designed for false lashes, as this will provide a strong hold without damaging your natural lashes. Allow the glue to become tacky for about 30 seconds before proceeding to the next step. This tackiness will ensure better adhesion and prevent the lashes from slipping or lifting during wear.
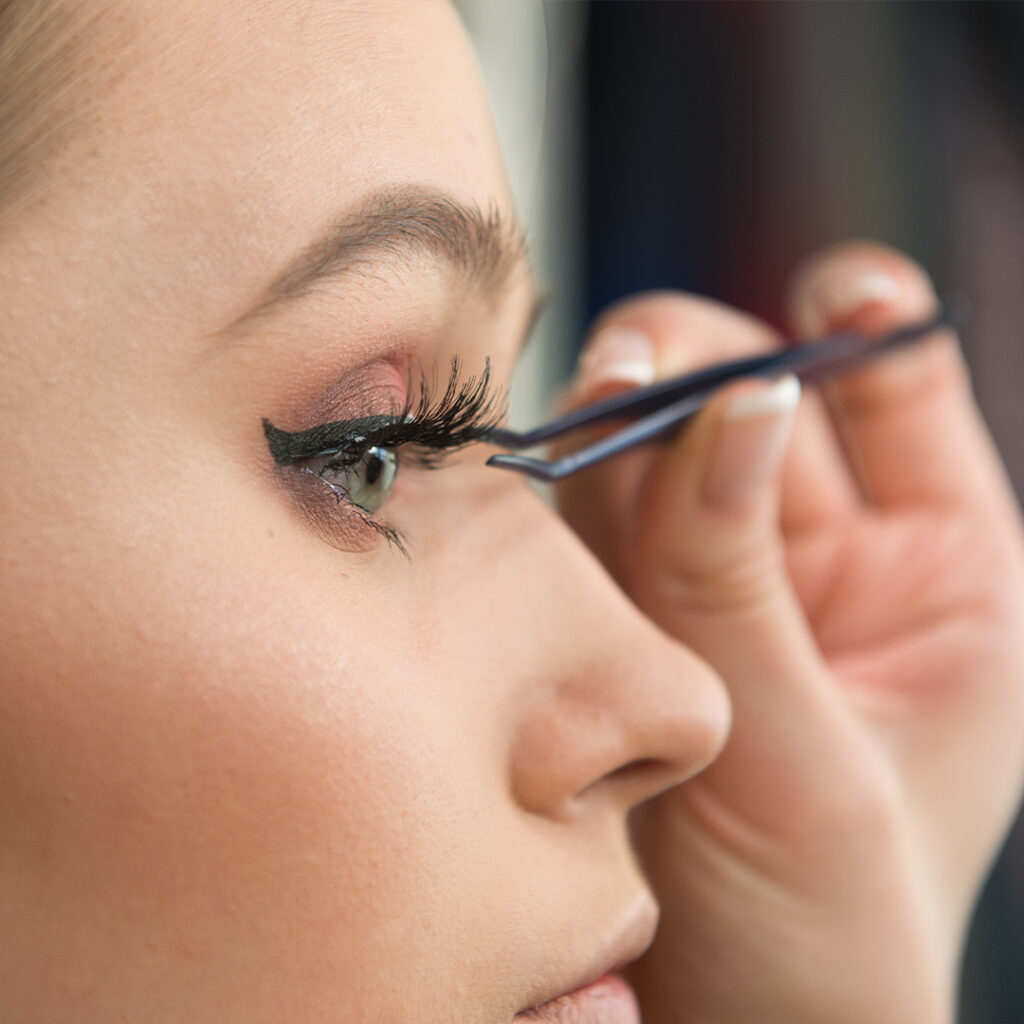
Once the glue is tacky, carefully position the lash strip as close to your natural lash line as possible. Starting from the outer corner of your eye, gently press down on the lash band, working your way towards the inner corner. Use your fingers or a clean tweezers to secure the lash strip in place. Take your time and ensure that the false lashes are centered and aligned with your natural lash line. Once the lashes are in place, gently press down on them to secure the bond.
Blending the False Lashes with Your Natural Lashes
To create a seamless look between the false lashes and your natural lashes, there are a few tricks you can try. First, squeeze your natural lashes together with the false lashes using your fingers or a clean spoolie brush. This will help the lashes blend together, creating a more natural appearance.
Next, use an eyelash curler to curl both your natural and false lashes together. This will further blend the lashes and give them a uniform curvature. Be gentle when using the eyelash curler, ensuring that you don’t tug or pull on the false lashes.
Lastly, apply a coat of mascara to blend your natural and false lashes even further. Use a mascara that matches the color of the false lashes and apply it from the base to the tips of the lashes. Be careful not to overload the lashes with mascara, as this can weigh them down and make them look clumpy.
Removing False Lashes Properly
Removing false lashes is just as important as applying them correctly. To remove the false lashes, gently lift the lashes from the outer corner, peeling them away from your natural lash line. Be careful not to pull or tug on the lashes, as this can cause damage to your natural lashes or the false lashes themselves.
Once the lashes are removed, it’s time to peel off the remaining lash glue. Start from one end of the lash band and carefully peel off the glue using your fingers or a pair of tweezers. Be gentle and take your time to avoid damaging the false lashes.
After removing the glue, it’s crucial to clean and store the false lashes properly to prolong their lifespan. Clean the lashes with a gentle eye makeup remover or micellar water to remove any residual glue, mascara, or dirt. Gently brush through the lashes with a clean spoolie brush to remove any tangles or clumps. Once the lashes are clean and dry, store them in a protective case or box to prevent any damage or deformation.
Troubleshooting Common Issues
Sometimes, there may be some common issues that arise when applying false lashes. If you find that the lashes are too long or dramatic for your liking, you can trim them further to achieve your desired length. Remember to trim a little at a time to avoid cutting off too much.
If the false lashes are not staying in place, it may be due to not allowing the lash glue to become tacky enough before applying the lashes. Ensure that the glue is adequately tacky before positioning the lashes, as this will create a stronger bond.
In some cases, the lash glue may irritate your eyes. If this happens, remove the lashes immediately and gently cleanse your eye area with water or a gentle cleanser. It’s crucial to use a high-quality lash glue that is safe for sensitive eyes and skin.
Caring for Your False Lashes
To make the most out of your false lashes and keep them in optimal condition, it’s essential to care for them properly. After removing the lashes, take the time to remove any remaining lash glue from the lash band. Use your fingers or a pair of tweezers to gently peel off the leftover glue.
Next, clean the lashes using a gentle eye makeup remover or micellar water. Gently swipe the remover-soaked cotton pad along the lash band and through the lashes to remove any residual mascara, eyeliner, or dirt. Be gentle to avoid pulling or damaging the lashes.
Once the lashes are clean, store them in a protective case to prevent any damage or deformation. Avoid storing them near heat sources or in direct sunlight, as this can cause the lashes to lose their shape. By properly caring for your false lashes, you can extend their lifespan and get multiple uses out of them.
Tips for a Natural Look
If you’re aiming for a natural look with your false lashes, follow these tips. First, choose wispy and natural-looking lashes that mimic the texture and spacing of your natural lashes. Avoid lashes that are too dense or dramatic, as they can appear fake and unnatural.
To seamlessly blend the false lashes with your natural lashes, apply a thin layer of mascara to your natural lashes before applying the false lashes. This will help the false lashes adhere to your natural lashes and create a more cohesive look.
When applying the false lashes, make sure to position them as close to your natural lash line as possible. This will create a seamless transition between your natural lashes and the false lashes, making them look more natural.
Faux Lashes for Different Occasions
False lashes are a versatile beauty accessory that can be worn for various occasions. For everyday wear, opt for natural-looking lashes that enhance your eyes without being too dramatic. These lashes will give you a subtle and polished look that is perfect for the office or casual outings.
For special events or evenings out, you can amp up the drama by choosing lashes that are longer and fuller. These lashes will give you a glamorous and eye-catching look that is sure to turn heads. Pair them with a bold eyeshadow or winged eyeliner for a complete and stunning makeup look.

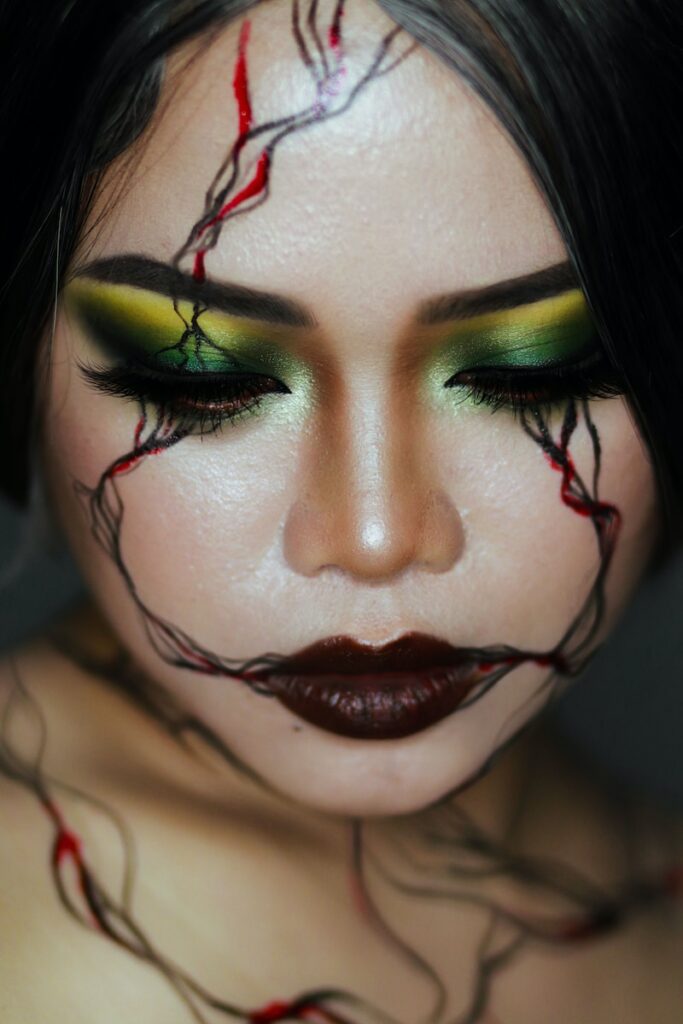
If you’re attending a Halloween or costume party, you have the freedom to go all out with your false lashes. Choose lashes that are long, bold, and even colored or embellished to complement your costume. Let your imagination run wild and have fun experimenting with different lash styles for these festive occasions.