Introduction to Split French Manicures
French manicures have been a staple in the nail art world, synonymous with timeless elegance. Now, they are getting a major makeover with the Split French Manicure trend, a creative interpretation that introduces negative space into the traditional design. This chic variation is quickly becoming a favorite, as seen on stylish.ae, a trendsetter in the beauty and fashion industry.
Understanding the Split French Manicure
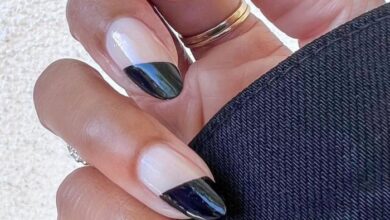
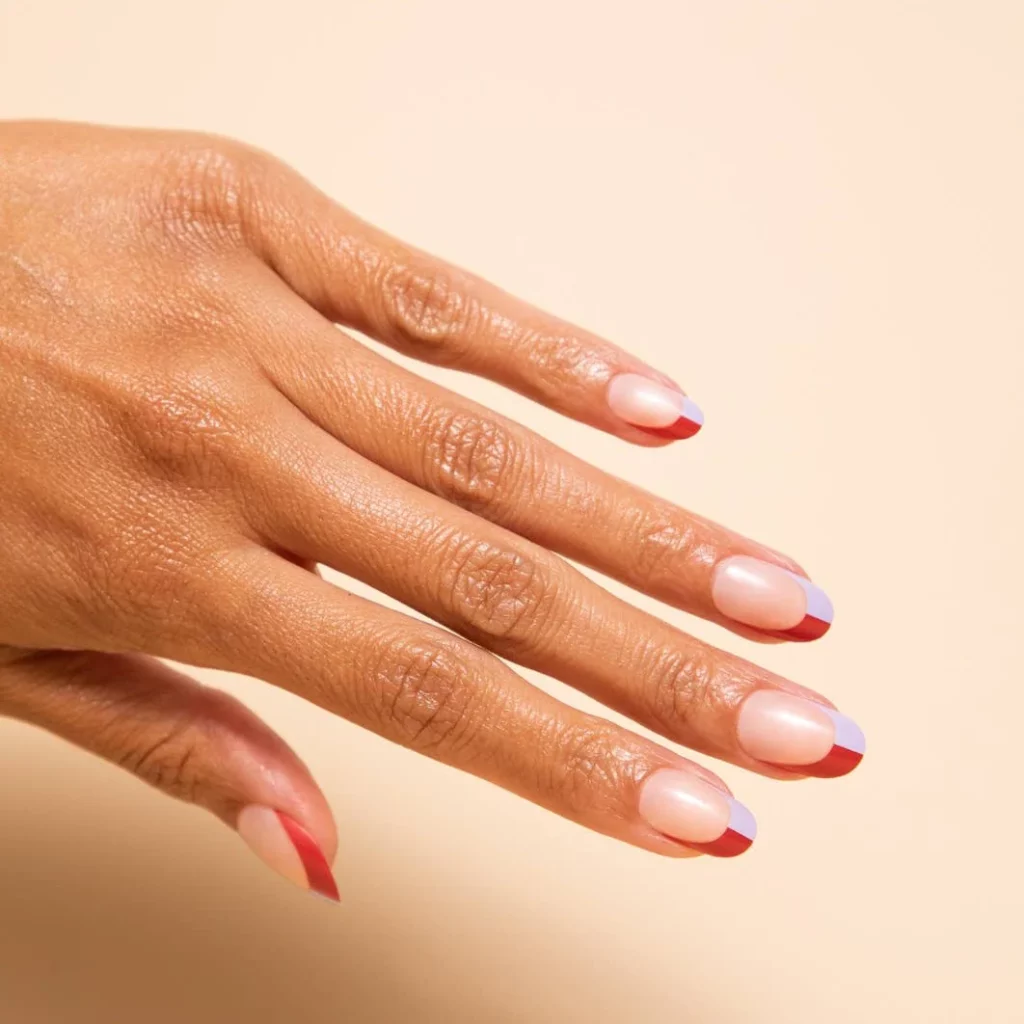
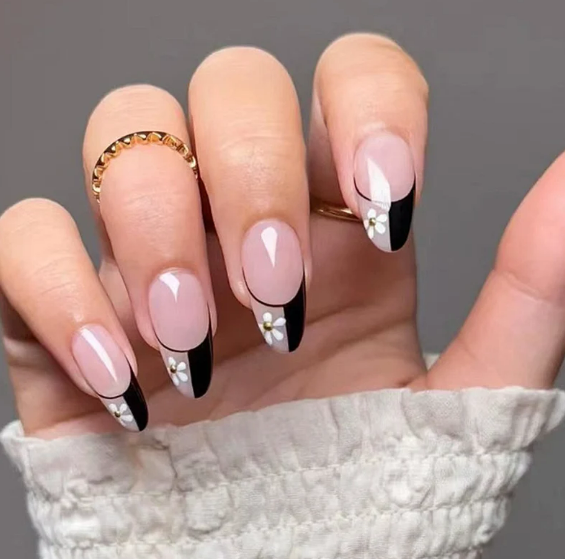
The Split French Manicure essentially involves painting the tips of the nails in two contrasting colors, separated by a line of negative space. This design creates a visually striking effect that’s both sophisticated and playful. Unlike the classic French manicure, which typically features a single nude base with white tips, the Split French introduces more color options and a bold use of space.
Why It’s Gaining Popularity
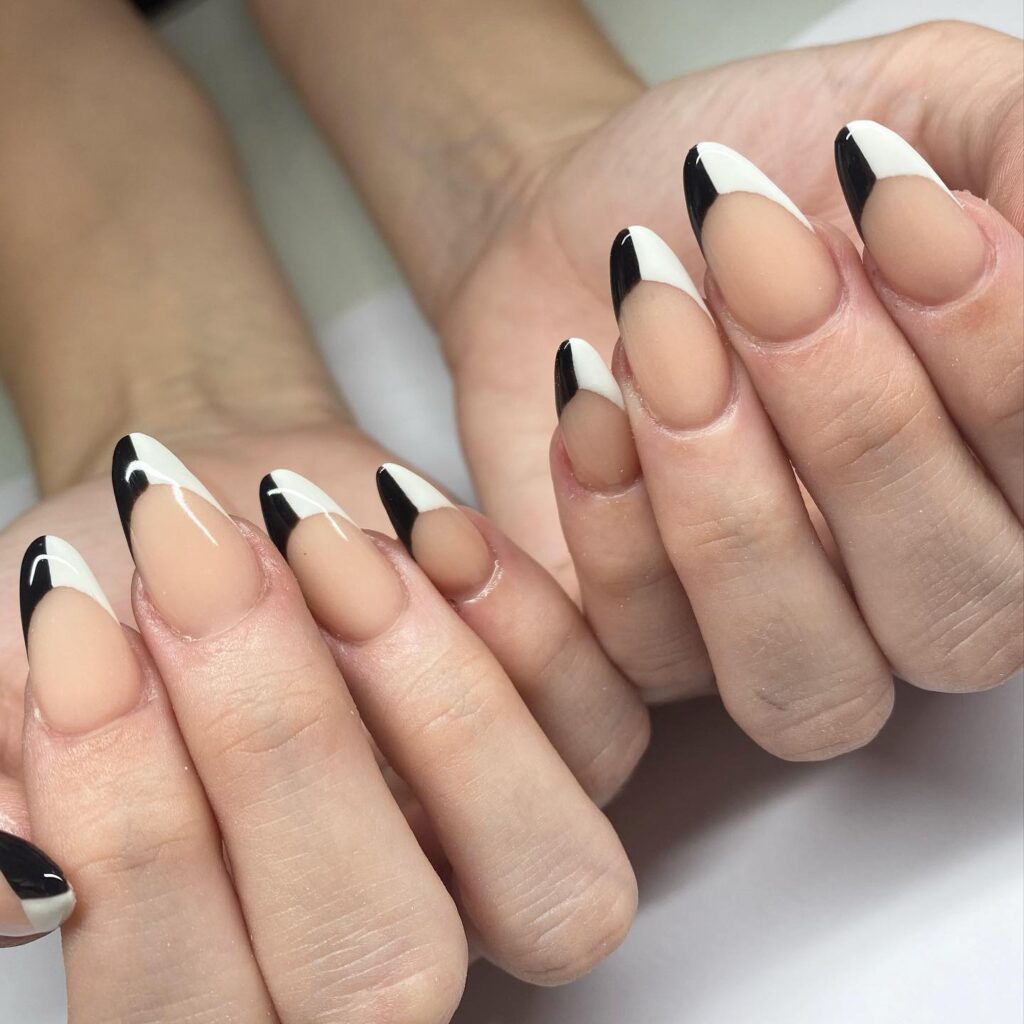
- Versatility: One of the reasons for the soaring popularity of the Split French Manicure is its versatility. It can be adapted to suit any occasion, mood, or personal style. From bright, contrasting colors for a bold statement to subtle, complementary shades for a more understated look, the possibilities are endless.
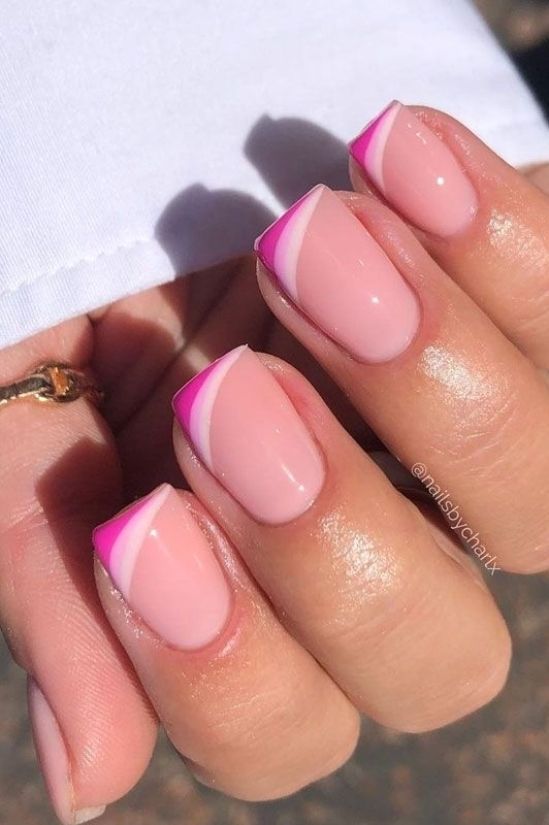
- Personalization: This style allows for immense personalization. You can experiment with different color combinations, widths of the split, and even the orientation of the line (horizontal, vertical, diagonal). Each choice makes the manicure uniquely yours.
- Modern Aesthetic: The addition of negative space in the design adds a modern twist to the classic French tip, appealing to those who are looking for something contemporary yet elegant.
Split French Manicure
How to Achieve the Perfect Split French Manicure
Creating a Split French Manicure requires precision but is surprisingly doable at home with the right tools and techniques:
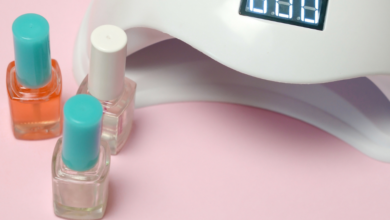
- Preparation: Start with clean, well-shaped nails. Apply a base coat to protect your nails and ensure an even application of color.
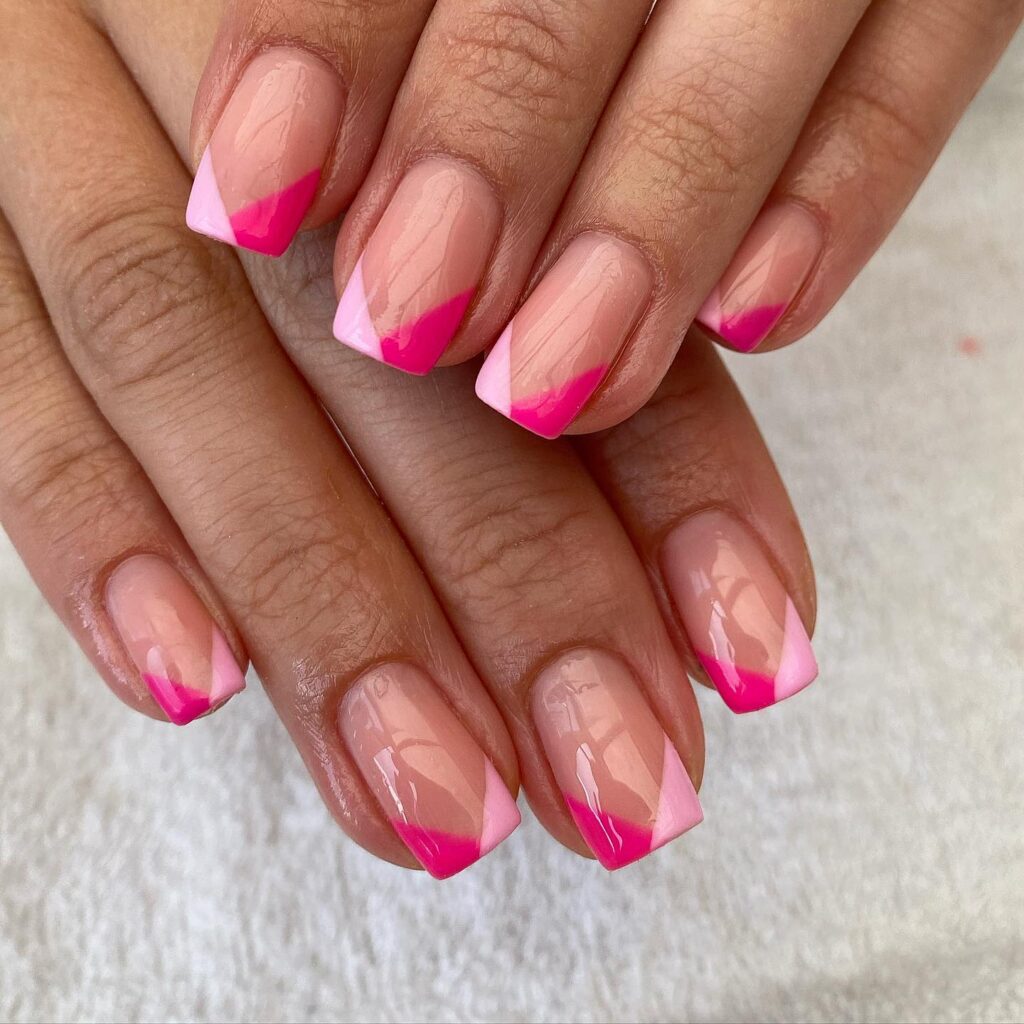
- Choosing Colors: Select two colors that complement each other. For a bold look, opt for contrasting colors. For something more subtle, choose shades within the same color family.
- Application: After applying the base coat, carefully paint one half of each nail tip with the first color. Use a thin brush for accuracy. Let it dry completely before applying the second color to the other half.
- Defining the Split: Use a fine brush or nail tape to create a crisp line of negative space between the two colors. This step requires a steady hand and patience.
- Finishing Touches: Once the polish is dry, apply a top coat to seal in the design and add a glossy finish.
Split French Manicure
Tips for Perfecting Your Split French Manicure
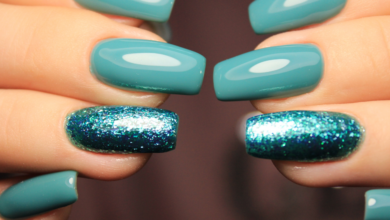
- Experiment with Textures: Mix matte and glossy finishes or even add glitter for an eye-catching effect.
- Play with Angles: Instead of a straight line, try angled or curved lines for a unique twist.
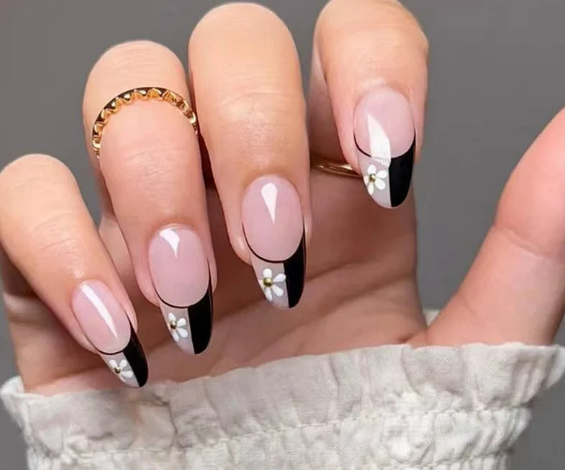
- Incorporate Nail Art: Embellish the negative space with small nail art designs like dots, stars, or tiny geometric patterns.
Split French Manicure
Maintenance and Care
To keep your Split French Manicure looking fresh, reapply the top coat every few days. Avoid activities that can chip your polish, and keep your nails hydrated with cuticle oil.
Conclusion
The Split French Manicure is a testament to the creative potential of nail art, offering a fresh perspective on a classic style. Its versatility, coupled with the opportunity for personalization, makes it a trend that’s likely to stay. Whether you’re heading to a professional salon or trying it out at home, the Split French Manicure is a chic, fun way to express your personal style while staying on the cutting edge of fashion. So go ahead, choose your colors, and let your nails be your canvas for creativity!