Have you ever wondered how to achieve that flawless and mesmerizing eyeshadow look that you see on all the beauty gurus? Look no further, because in this article, we will be diving deep into the art of eyeshadow layering with stylish.ae. With their expert tips and techniques, you’ll learn how to create stunning and multi-dimensional eye looks that will make heads turn.
Whether you’re a makeup newbie or a seasoned artist, stylish.ae has got you covered with their vast range of eyeshadow palettes and informative tutorials. Get ready to enhance your eyeshadow game and unlock your inner makeup artist with this ultimate guide to eyeshadow layering.

Understanding Eyeshadow Layering
The Basics of Eyeshadow Layering
Eyeshadow layering is a technique that involves applying multiple layers of eyeshadow to create depth, dimension, and complexity in your eye makeup looks. By strategically combining different shades, finishes, and textures, you can enhance the overall effect of your eyeshadow and achieve stunning results.
Why Layering Eyeshadow is Important
Layering eyeshadow is important because it allows you to customize your look and achieve the desired intensity and complexity. By building up layers of color, you can create a smooth transition from light to dark, add depth to your crease, and enhance the overall shape of your eyes. Without layering, your eyeshadow can appear flat and one-dimensional.
Benefits of Eyeshadow Layering
There are several benefits to layering eyeshadow. First and foremost, it allows you to experiment and be creative with your eye makeup looks. By layering different colors and textures, you can create unique combinations that reflect your personal style and highlight your eye color.
Layering also helps to improve the longevity and staying power of your eyeshadow. By applying a base layer and gradually building up the color, you can ensure that your eyeshadow stays in place all day without creasing or fading.
Additionally, layering offers versatility. You can easily switch up your look by adding or removing certain layers, allowing you to go from a soft and natural daytime look to a bold and dramatic evening look with just a few additional steps.
Choosing the Right Eyeshadow Colors
Understanding the Color Wheel
Before you start layering eyeshadow, it’s important to have a basic understanding of the color wheel. The color wheel is a visual representation of how colors relate to each other. It consists of primary, secondary, and tertiary colors, and it can help guide your choices when it comes to selecting eyeshadow colors that complement each other.
By understanding color theory, you can create harmonious eyeshadow looks by choosing colors that are adjacent to each other on the color wheel (analogous colors) or colors that are opposite each other (complementary colors) for a more contrasting effect.
Combining Warm and Cool Tones
Another key aspect of choosing the right eyeshadow colors is considering the undertones of your skin and eyes. Warm-toned individuals often have yellow or golden undertones in their skin, while cool-toned individuals have more pink or blue undertones.
To create a balanced and flattering look, consider your skin and eye undertones when selecting eyeshadow colors. Warm-toned individuals can enhance their eyes with shades like copper, bronze, and warm browns. Cool-toned individuals, on the other hand, can opt for colors like purples, blues, and cool grays.

Creating Contrast with Complementary Colors
If you’re looking to create a bold and eye-catching eyeshadow look, one effective technique is to use complementary colors. Complementary colors are those that are opposite each other on the color wheel, such as blue and orange, or purple and yellow.
By using complementary shades, you can create a striking contrast and make your eyes pop. For example, if you have blue eyes, using warm orange or copper shades can create a stunning contrast and draw attention to your eye color. Similarly, if you have green eyes, using shades with reddish undertones like cranberry or plum can create a beautiful contrast.
Prepping the Eyelids
Cleansing and Moisturizing
Before diving into eyeshadow layering, it’s essential to start with a clean and moisturized canvas. Cleansing your eyelids helps remove any oils or residue, ensuring that your eyeshadow adheres properly and lasts longer. Use a gentle cleanser or micellar water to cleanse your eyelids, and follow up with a lightweight moisturizer to hydrate the skin.
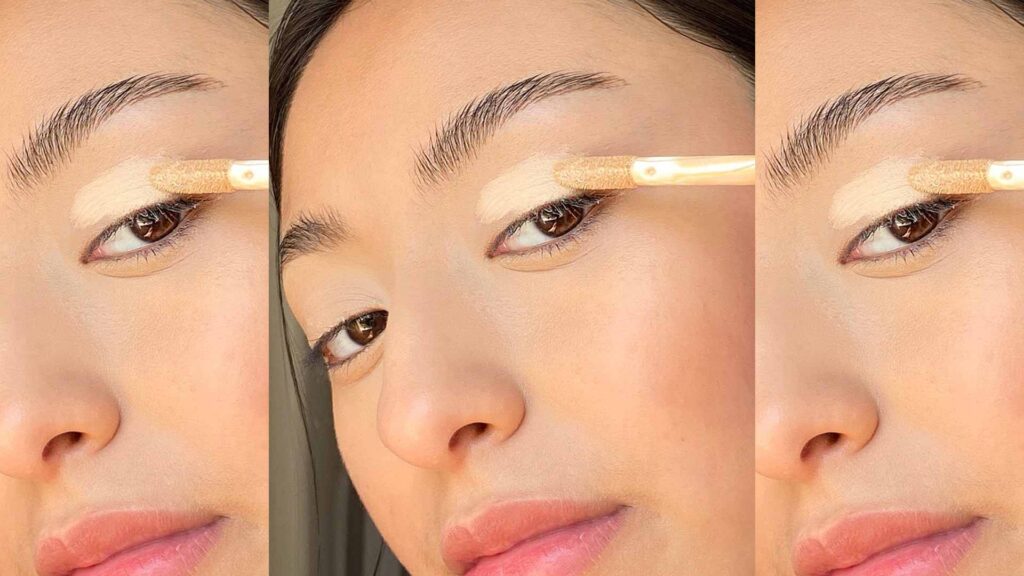
Applying Eyeshadow Primer
Next, applying an eyeshadow primer is crucial to create a smooth and long-lasting base for your eyeshadow. Eyeshadow primers not only help to extend the wear time of your eyeshadow but also intensify the color payoff and prevent creasing.
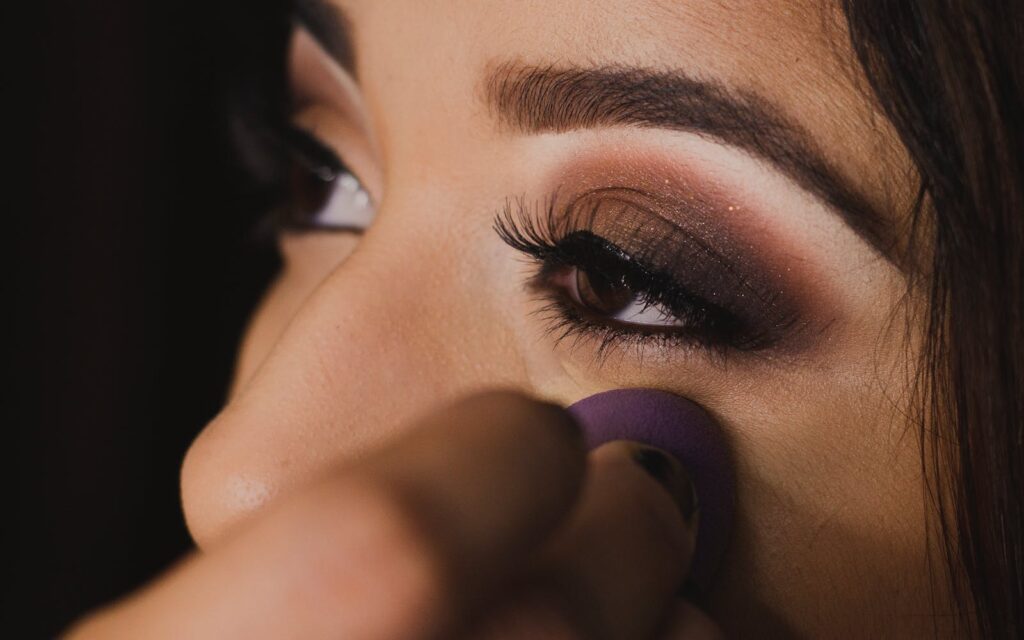
To apply eyeshadow primer, simply dot a small amount onto the eyelids and blend it out using your fingertips or a synthetic brush. Be sure to cover the entire eyelid, including the inner corner and the lower lash line if you plan on applying eyeshadow there.
Setting the Base with Translucent Powder
Once you’ve applied the eyeshadow primer, it’s helpful to set it with a translucent powder. This step helps to prevent any creasing or smudging of the eyeshadow.
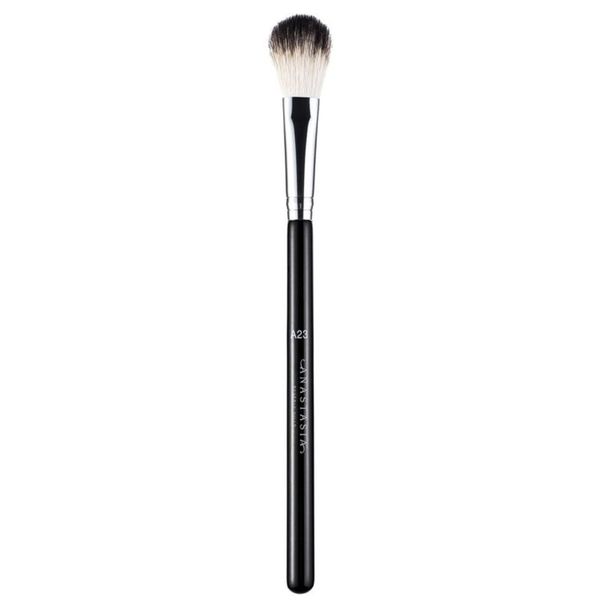
Using a fluffy eyeshadow brush, lightly dust a small amount of translucent powder over the entire eyelid. This will create a smooth and matte base for your eyeshadow, allowing for easy blending and layering.
Layering Techniques
Gradual Transition Method
The gradual transition method is a popular technique used in eyeshadow layering to create a seamless gradient of color. This method involves applying eyeshadow in a series of gradual steps, starting with a light shade and gradually building up to darker shades.
To achieve this look, begin by applying the lightest shade all over the eyelid, from the lash line to the brow bone. Next, apply a slightly darker shade to the crease and blend it out using a fluffy blending brush. Finally, use a darker shade to deepen the outer corner and create definition, blending it into the crease for a smooth transition.
Cut-Crease Technique
The cut-crease technique is perfect for creating a defined and dramatic eyeshadow look. This technique involves creating a sharp line of contrast between the crease and the lid, giving the illusion of a higher and more defined crease.
To achieve this look, start by applying a light shade all over the lid. Then, using a small, precise blending brush, apply a darker shade along the natural crease of your eye and blend it upwards towards the brow bone. Finally, use a clean, flat brush to carve out a straight line along the crease, creating a distinct separation between the lid and the crease.
Halo Eye Technique
The halo eye technique is a beautiful way to create dimension and draw attention to the center of the eyelid, creating a halo-like effect. This technique involves using lighter shades in the center of the lid and darker shades on the inner and outer corners.
To achieve this look, start by applying a medium shade all over the lid. Next, use a darker shade on the inner and outer corners of the lid, blending them towards the center. Finally, apply a lighter shade or shimmer shade to the very center of the lid, creating a halo effect. Blend everything together for a seamless finish.
Blending and Transitioning
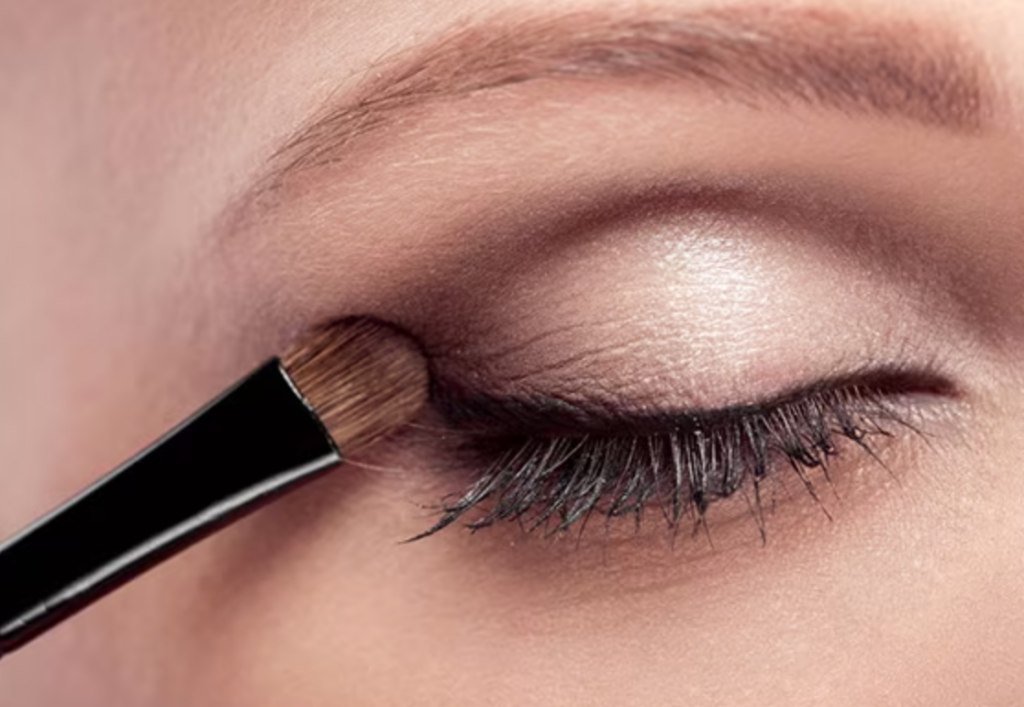
Using a Fluffy Blending Brush
Blending is a crucial step in eyeshadow layering as it helps create a seamless transition between different shades. The key tool for blending is a fluffy blending brush. This type of brush has long, soft bristles that allow for smooth and even blending.
To blend your eyeshadow seamlessly, start by using a light hand and small circular motions to blend the edges of the different shades together. Focus on the areas where two shades meet to create a seamless transition and avoid any harsh lines.
Creating a Seamless Transition
To achieve a seamless transition between shades, it’s important to blend the colors together gradually. Start with light, feathery strokes as you apply each layer of eyeshadow, and build up the color slowly. Use a combination of windshield wiper motions and circular motions to blend the colors together, ensuring there are no harsh lines or uneven patches.
Remember to take your time with blending and be patient. The more you blend, the smoother and more professional-looking your eyeshadow will appear.
Blending Different Finishes
When layering eyeshadow, it’s common to use shades with different finishes, such as matte, shimmer, metallic, or glitter. Blending different finishes can add depth and dimension to your eyeshadow look, but it’s important to blend them properly to avoid any clashing or patchiness.
To blend different finishes, start by applying the matte shades first as they tend to have better blending capabilities. Use a fluffy blending brush to blend the matte shades together until you achieve a smooth transition. Then, apply the shimmery, metallic, or glitter shades using a flat brush or your fingertips, focusing on the areas where you want to add dimension or sparkle. Gently blend the edges of the different finishes to create a seamless look.
Adding Depth and Dimension
Using a Darker Shade in the Crease
Adding depth to the crease is a great way to enhance the shape of your eye and create a more dramatic look. By using a slightly darker shade in the crease, you can create the illusion of a deeper and more defined eye socket.
To add depth, choose a shade that is one or two shades darker than your natural skin tone or the shade you are using on the lid. Using a small blending brush, apply the darker shade to the crease and blend it outwards and upwards towards the brow bone. Focus on the outer corner of the crease to create a lifted effect.

Defining the Outer V
Defining the outer V is another technique that adds dimension and creates a more defined eye shape. The outer V refers to the outer corner of the eye, where the upper and lower lash lines meet.
To define the outer V, choose a darker shade that complements the colors you are using on the lid and crease. Using a small, precise brush, apply the darker shade to the outer corner of the eye in a V shape. Blend it carefully into the crease and outer part of the lid, creating a seamless transition.
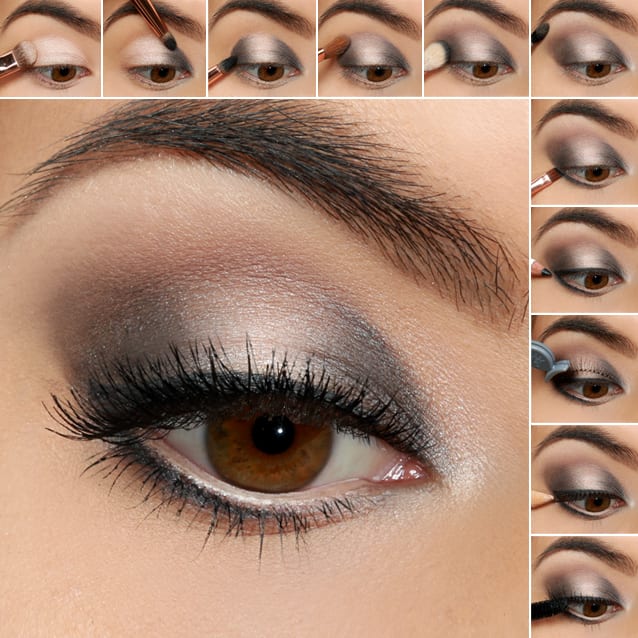
Creating a Smoky Effect
If you’re looking to create a smoky and sultry eyeshadow look, layering is key. To achieve a smoky effect, start with a light shade all over the lid and gradually build up darker shades in the crease and outer corner.
Apply a medium shade to the crease, focusing on the outer two-thirds of the eye. Blend it well to create a diffused effect. Then, apply a darker shade to the outer corner and blend it into the crease, focusing on the outer V. Finally, use a small pencil brush to apply a black or dark shade along the upper and lower lash line, smudging it for a smoky effect. Blend everything together for a seamless finish.
Experimenting with Textures
Matte and Shimmer Combination
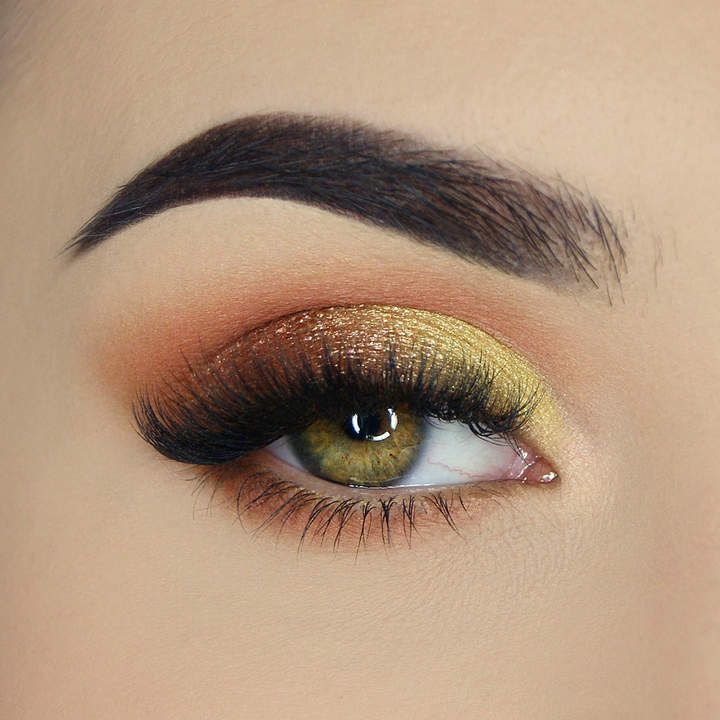
One easy way to experiment with eyeshadow layering is by combining matte and shimmer shades. This combination adds depth and dimension to your look, as the matte shades create a base and the shimmer shades add a touch of sparkle.
To achieve this look, start by applying a matte shade all over the lid to create a smooth base. Then, apply a shimmer shade to the center of the lid or along the inner corner to add a pop of brightness and dimension. Blend the edges of the shades together for a seamless transition.
Introducing Metallic and Glitter Shadows
For a bold and glamorous look, consider adding metallic and glitter shadows to your eyeshadow layering. Metallic shades have a high-shine finish, while glitter shadows add a sparkly and multidimensional effect.
To incorporate metallic and glitter shadows, start by applying a matte shade as a base. Then, apply a metallic shade to the lid, focusing on the center for maximum impact. If you want to intensify the look, layer a glitter shadow on top of the metallic shade, using a flat brush or your fingertips. Blend the edges of the shades together for a seamless finish.

Using Duochrome and Foiled Eyeshadows
For a unique and eye-catching look, experiment with duochrome and foiled eyeshadows. Duochrome shadows have a duo-toned effect, reflecting different colors depending on the angle and lighting. Foiled shadows have a highly pigmented and metallic finish.
To incorporate duochrome and foiled shadows, start by applying a matte shade as a base. Then, apply a duochrome shade to the lid, focusing on the center to showcase its color-changing effect. If you want even more intensity, layer a foiled shadow on top of the duochrome shade, using a flat brush or your fingertips. Blend the edges of the shades for a seamless finish.

Playing with Placement
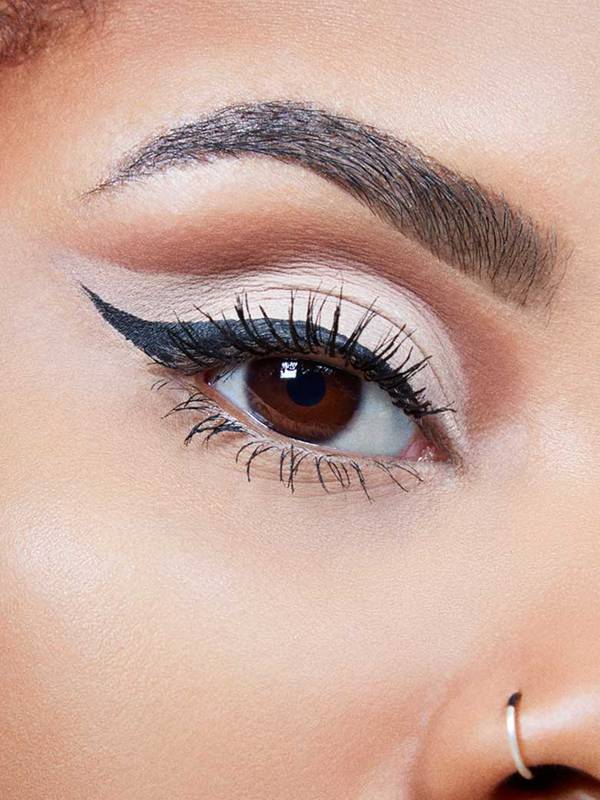
Highlighting the Inner Corner
Highlighting the inner corner of the eye is a trick that instantly brightens and opens up the eyes. By applying a light shade or a shimmery highlighter to the inner corner, you can create a more awake and youthful appearance.
To highlight the inner corner, choose a shade that complements the colors you are using on the lid and crease. Apply the light shade or highlighter to the inner corner using a small brush or your fingertips. Blend it slightly into the inner part of the lid for a seamless transition.

Accentuating the Brow Bone
Accentuating the brow bone is another technique that helps to define and enhance the shape of your eyes. By applying a light shade or a subtle highlighter under the brow bone, you can lift and highlight the area, creating a polished and finished look.
To accentuate the brow bone, choose a shade that is one or two shades lighter than your natural skin tone. Using a small brush or your fingertips, apply the light shade or highlighter just under the brow bone, following the natural arch of your eyebrow. Blend it gently into the transition area for a seamless finish.

Placing Eyeshadow on the Lower Lash Line
While most of the focus is usually on the upper eyelid, the lower lash line should not be neglected. Adding eyeshadow to the lower lash line can help balance and complete your eye makeup look, adding depth and definition.
To enhance the lower lash line, choose a shade that complements the colors you are using on the lid and crease. Using a small pencil brush, apply the shade along the lower lash line, starting from the outer corner and blending it towards the inner corner. Be sure to blend it softly for a subtle and seamless effect.
Tips for a Flawless Finish
Avoiding Excessive Product Build-Up
When layering eyeshadow, it’s important to avoid excessive product build-up, as it can make the eyeshadow look cakey and prevent proper blending. To prevent this, tap off any excess product from your brushes before applying them to your eyes. This will ensure that you’re working with the right amount of product and prevent any unnecessary buildup.
Blotting and Touching Up
Throughout the day or evening, your eyeshadow may experience some fading or smudging. To maintain a flawless finish, it’s helpful to carry blotting papers or a small brush with you for touch-ups. Gently blot or sweep away any excess oil or smudged eyeshadow, and lightly reapply and blend it as needed.
Setting the Eyeshadow with Setting Spray
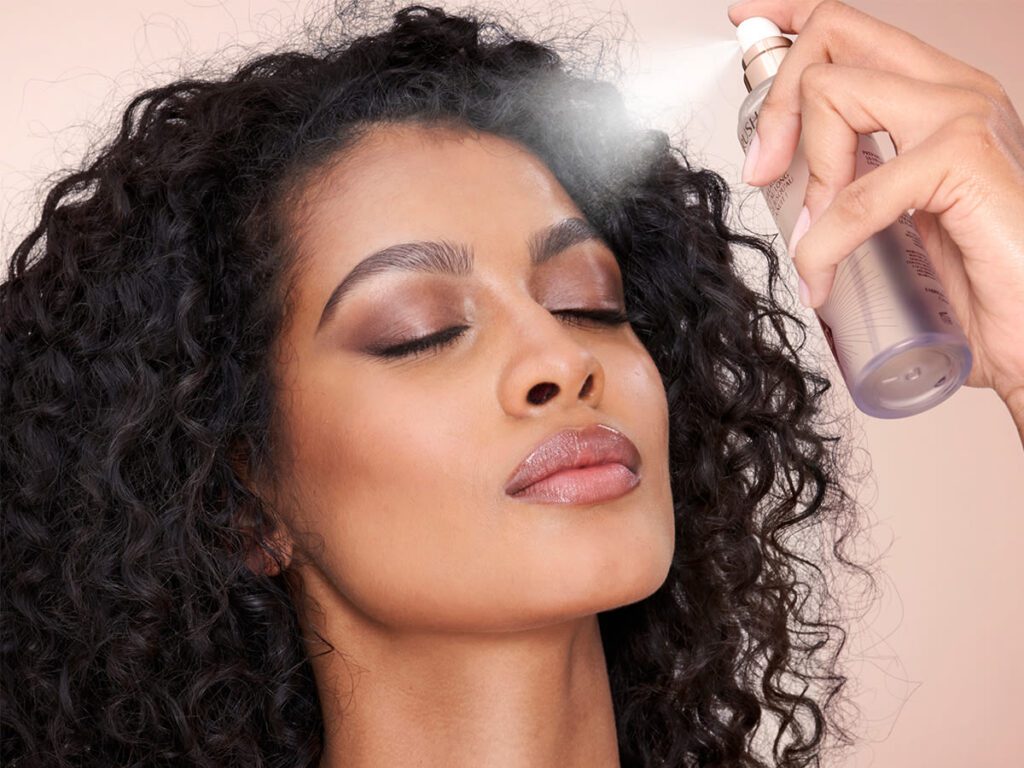
To lock in your eyeshadow and ensure long-lasting wear, finish your eyeshadow look by setting it with a setting spray. Setting spray helps to seal the eyeshadow and prevent it from creasing or fading throughout the day. Simply close your eyes and mist the setting spray over your entire eye area, holding the bottle about 10 inches away for an even application.
Experimenting with Eyeshadow Layering
Creating Daytime Looks
Eyeshadow layering is not limited to bold and dramatic styles. It can also be used to create soft and natural daytime looks. By using neutral shades and light layering techniques, you can enhance your eye shape and add a touch of color without overpowering your look. Opt for shades like champagne, taupe, or soft brown, and focus on creating a seamless transition for a soft and polished result.
Exploring Bold and Dramatic Styles
For those who love experimenting with bold and dramatic styles, eyeshadow layering opens up a world of possibilities. You can combine vibrant colors, intense finishes, and intricate layering techniques to create eye-catching looks that command attention. Don’t be afraid to embrace intense pigments like royal blue, emerald green, or deep purple, and incorporate techniques like the cut-crease or halo eye for maximum impact.
Trying Out Monochromatic Eyeshadow Looks
Monochromatic eyeshadow looks are a trend that never goes out of style. With eyeshadow layering, you can take monochromatic looks to the next level by adding depth and dimension. Start with a base shade that matches your desired color scheme, then gradually build up the intensity using darker and lighter shades within the same color family. This technique creates a cohesive and stunning monochromatic effect that is guaranteed to make a statement.
In conclusion, eyeshadow layering is a versatile technique that allows you to create a wide range of eye-catching looks. By understanding color theory, selecting the right shades, and mastering various layering techniques, you can achieve stunning and multidimensional eye makeup looks. Whether you prefer soft and natural daytime looks or bold and dramatic styles, eyeshadow layering is the key to unlocking the full potential of your eye makeup. So grab your brushes, experiment with different colors and textures, and let your creativity shine through your eyeshadow layering skills.