If you’ve ever desired an effortlessly chic and timeless look, mastering the art of classic winged eyeliner is a must. This article explores various techniques and tricks that will help you achieve the perfect winged eyeliner look. Whether you’re a beginner or someone looking to enhance their skills, these tips will help you create a beautiful and defined wing that will elevate your makeup game to new heights. From choosing the right eyeliner product to mastering the flick, get ready to transform your eyes with this iconic makeup style.
Preparation and Tools
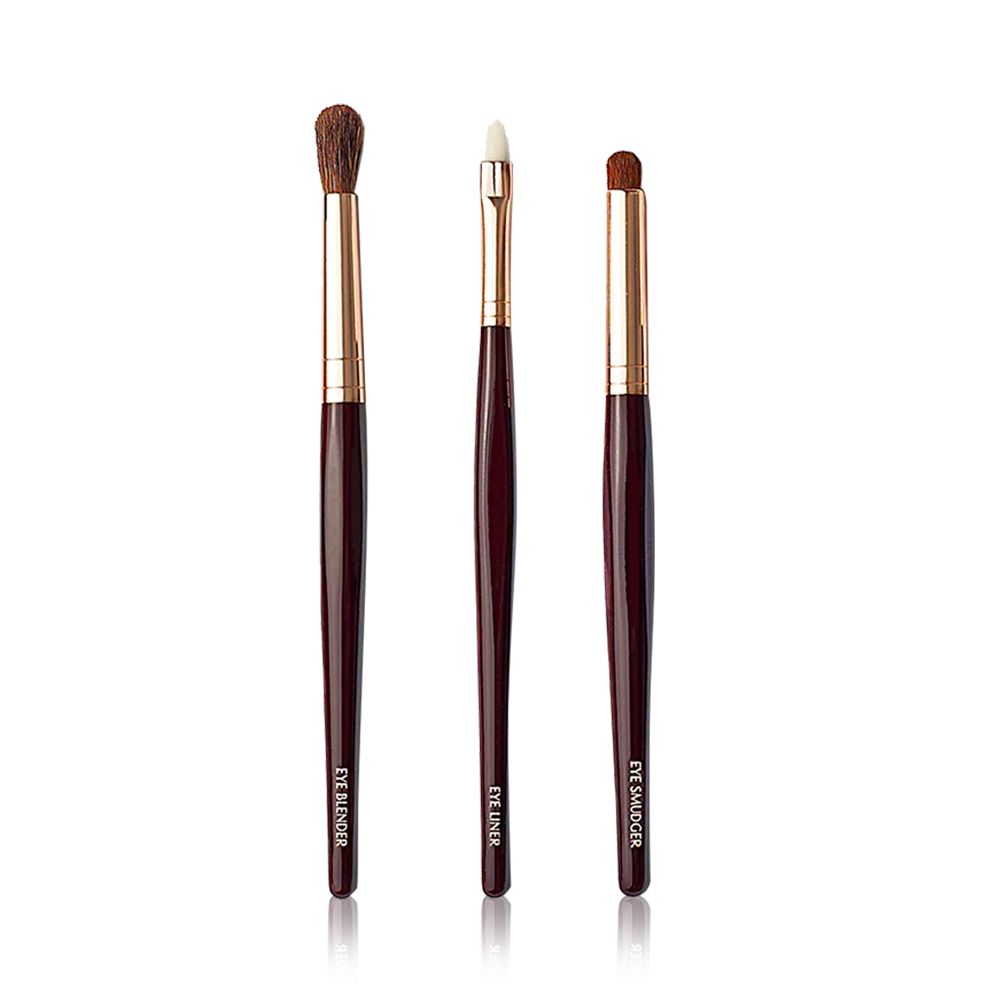
Before you start creating your classic winged eyeliner, it’s important to gather the necessary tools and prepare your eyelids. You’ll need an eyeliner, preferably liquid or gel, an eyeliner brush or pen, eyeshadow (optional), concealer, setting powder or shadow, and guiding tools like tape or a business card.
To prep your eyelids, make sure they are clean and free of any makeup residue. You can use a gentle cleanser or makeup remover to ensure a clean canvas for your eyeliner application. After cleansing, apply a thin layer of eyeshadow primer or an eyelid primer to help your eyeliner last longer and prevent smudging.
Basic Winged Eyeliner Technique
Now that you have your tools ready and your eyelids prepped, let’s move on to the basic winged eyeliner technique.
- Start by creating a thin line: Begin by drawing a thin line along your upper lash line starting from the inner corner of your eye towards the outer corner. Make sure this line is close to your lash line for a seamless look.
- Extend the line upward at an angle: From the outer corner of your eye, extend the line upward towards the end of your eyebrow. The angle and length of the upward flick can vary depending on the desired look.
- Connect the line to your upper lash line: Next, draw a line connecting the outer end of the upward flick to your upper lash line. Ensure that the line tapers towards the inner corner of your eye for a natural appearance.
- Fill in the wing: Once the basic wing shape is drawn, fill in the empty space between the wing and your upper lash line. This will create a solid and bold winged eyeliner look.
- Join the wing with the rest of your upper lash line: Finally, connect the winged portion to the rest of your upper lash line by carefully drawing a thin line starting from the inner corner to meet the wing. Ensure that the line is smooth and without any gaps or unevenness.

Different Wing Styles
While the classic winged eyeliner is a timeless style, there are various wing styles you can experiment with to suit different occasions and personal preferences. Here are some popular wing styles you can try:
Classic Wing
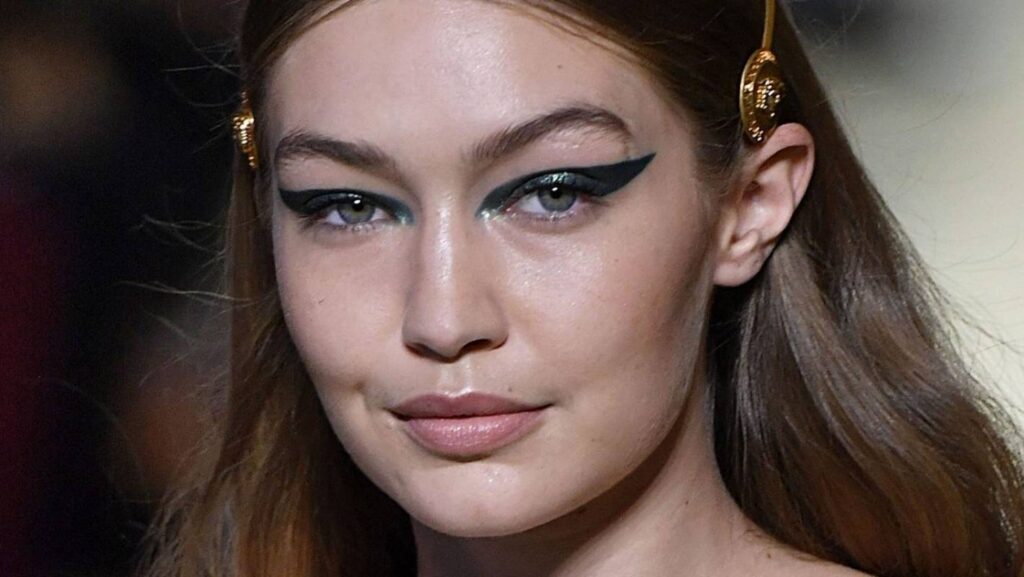
The classic wing is a timeless and versatile style. It involves creating a thin, sharply angled wing that extends slightly beyond the outer corner of the eye.
Extended Wing
If you want to add more drama to your winged eyeliner, try the extended wing style. This involves creating a longer and more pronounced wing that extends further past the outer corner of the eye.
Sharpened Wing
For a sharp and edgy look, try the sharpened wing style. This involves creating a wing with a pointed and precise edge, giving your eyes a bold and fierce appearance.
Soft Wing
If a subtle and soft look is what you’re after, the soft wing style is perfect. This involves creating a wing with a gentle and rounded shape, giving a delicate and feminine touch to your overall makeup.
Double Wing
For a unique and eye-catching look, consider trying the double wing style. This involves creating two wings on each eye, one above the other, adding an extra layer of dimension and creativity to your winged eyeliner.
Colorful Wing
To add a pop of color to your winged eyeliner, experiment with different eyeliner shades. Whether it’s a vibrant blue, a sultry purple, or a metallic gold, adding a colorful wing can make a bold statement and elevate your makeup look.

Tips and Tricks for a Flawless Wing
Creating a flawless winged eyeliner can be a challenge, but with the right techniques and tricks, you can achieve a perfect wing every time. Here are some tips to help you along the way:
Use guiding tools
If you struggle with creating a symmetrical wing, using guiding tools can be extremely helpful. Place a small piece of tape or a business card at an angle along the outer corner of your eye to guide your eyeliner application and ensure an even and symmetrical wing on both eyes.
Apply eyeshadow as a base
To make your winged eyeliner last longer and prevent smudging, apply a neutral-toned eyeshadow as a base on your eyelids before applying eyeliner. This will provide a smooth surface for the eyeliner to adhere to and help it stay in place throughout the day.
Make corrections with concealer
If you make any mistakes or have uneven wings, don’t worry! Use a small concealer brush to clean up and perfect the edges of your winged eyeliner. Dip the brush into concealer and gently trace along the edges to erase any errors and create a clean, precise line.
Set the eyeliner with powder or shadow
To prevent your eyeliner from smudging or transferring, set it in place by applying a matching eyeshadow or setting powder over the eyeliner. This will help lock the eyeliner in place and ensure it stays put throughout the day.
Use tape or a business card for a sharp edge
If you want a crisp and sharp winged eyeliner edge, place a small piece of tape or a business card diagonally along your eye. Use this edge as a guide to create a clean and precise wing.
Create balance with your eyebrows
To create a balanced and harmonious look, ensure that your eyebrows complement your winged eyeliner. Fill in your eyebrows to frame your eyes and create a polished look that enhances the overall appearance of your winged eyeliner.

Eyeliner Styles for Different Eye Shapes
Different eye shapes require different techniques to create the perfect winged eyeliner. Here are some tips for different eye shapes:
Almond-shaped eyes
If you have almond-shaped eyes, consider yourself lucky as this eye shape suits almost any winged eyeliner style. You can experiment with different wing lengths and shapes to enhance your natural eye shape.
Round eyes
For round eyes, aim for a winged eyeliner that elongates and lifts the eyes. Create a wing that extends slightly beyond the outer corner of your eye to create the illusion of an elongated shape.
Hooded eyes
Hooded eyes require a slightly different technique. Keep the winged portion of your eyeliner visible when your eyes are open by drawing the wing slightly higher on your eyelid. This will help avoid the eyeliner getting hidden when your eyes are open.
Monolid eyes
For monolid eyes, create a winged eyeliner style that creates the illusion of a crease. Start with a thinner line and gradually build up the thickness towards the outer corner, extending it slightly past the eye to create a lifted effect.
Upturned eyes
To balance the natural upturned shape of your eyes, create a winged eyeliner that follows the upward angle of your eyes. Extend the wing slightly past the outer corner to enhance the uplifted appearance.
Downturned eyes
For downturned eyes, create a winged eyeliner that lifts the outer corners. Draw a wing that angles slightly upward, following the natural downturn of your eyes to create a lifted and more awake look.

Eyeliner Troubleshooting
Even with the best techniques and tricks, sometimes things can go wrong with your winged eyeliner. Here are some common problems you may encounter and how to troubleshoot them:
Smudging or transferring
To prevent smudging or transferring of your eyeliner, make sure to set it with a matching eyeshadow or setting powder. Additionally, using an eyelid primer before applying eyeliner can also help prevent smudging.
Uneven wings
If your wings turn out uneven, don’t fret! You can correct this by using a small concealer brush to reshape and refine the edges of your wings. Take your time and make small adjustments until both wings appear symmetrical.
Imperfect lines
If your eyeliner lines appear shaky or imperfect, try using short, dashed lines instead of attempting to draw one continuous line. Gradually connect these short lines to create a smooth and precise line.
Lifting or peeling
If your eyeliner starts to lift or peel throughout the day, make sure you’re applying it on a clean and dry lid. Also, consider using an eyelid primer before applying eyeliner to enhance its longevity and prevent any lifting or peeling.

Playing with Eyeliner Colors
Don’t limit yourself to just black eyeliner! Playing with different eyeliner colors can add creativity and fun to your makeup looks. Here are some ideas for experimenting with eyeliner colors:
Choosing the right colors
When choosing colored eyeliner, consider your eye color and skin tone. For a subtle and natural look, opt for shades that complement or enhance your eye color. For a bold and dramatic look, experiment with contrasting colors.
Creating gradient effects
You can create stunning gradient effects by using multiple eyeliner colors. Start with a lighter shade near the inner corner of your eye and gradually transition to a darker shade towards the outer corner. This creates a beautiful gradient effect that adds depth and dimension to your eyes.
Contrasting or complementary colors
For a striking and eye-catching look, choose eyeliner colors that contrast with or complement your eyeshadow or outfit. For example, if you’re wearing a blue dress, try a vibrant orange eyeliner for a beautiful contrast.
Mixing and experimenting
Don’t be afraid to mix and experiment with different eyeliner colors. You can create unique looks by blending different shades together or using multiple colors to create intricate designs. Let your creativity shine!

Winged Eyeliner for Different Occasions
The beauty of winged eyeliner is its versatility. You can customize your winged eyeliner look based on the occasion. Here are some ideas for different occasions:
Everyday winged eyeliner
For everyday wear, a classic winged eyeliner with a thin and subtle wing is perfect. It adds a touch of elegance and polish to your everyday makeup routine without being too dramatic.
Dramatic winged eyeliner for evenings
When you want to amp up the drama for an evening event or a night out, go for a more extended and bolder winged eyeliner. You can also experiment with different colors or layering techniques to create a more intense look.
Winged eyeliner for special events
For special events like weddings or parties, you can opt for a more intricate and elaborate winged eyeliner style. Consider adding glitter or small embellishments to the wing for an extra festive touch.
Fun and creative winged eyeliner for festivals
Festivals are the perfect opportunity to get creative with your winged eyeliner. Experiment with bright and vibrant colors, add gemstones or glitter, or even draw unique designs like stars or flowers to embrace the festive atmosphere.

Winged Eyeliner for Beginners
If you’re new to winged eyeliner, don’t worry! With a little practice and patience, you’ll soon become a pro. Here are some tips for beginners:
Start with pencil or gel eyeliner
Pencil or gel eyeliners are more forgiving and easier to work with compared to liquid eyeliner. They provide more control and allow you to build up the thickness gradually.
Practice on your hand
Before diving straight into applying eyeliner on your eyes, practice on the back of your hand to get a feel for the application technique. This will help you develop your hand-eye coordination and gain confidence.
Use short, dashed lines
Instead of attempting to draw one continuous line, start by drawing short, dashed lines along your upper lash line. This will make it easier to achieve a smooth and even line.
Gradually progress to longer lines
As you gain more confidence, gradually progress to drawing longer lines. Start with small wings and gradually increase the length and thickness until you achieve your desired look.
Experiment with different angles
Don’t be afraid to experiment with different wing angles. Explore how different angles can affect the overall appearance of your eyes and find what works best for your eye shape and personal style.
Maintaining Winged Eyeliner Throughout the Day
To ensure your winged eyeliner stays intact throughout the day, follow these tips:
Use an eyelid primer
Start by applying an eyelid primer before your eyeshadow and eyeliner. This will create a smooth surface for your eyeliner to adhere to and help it stay in place throughout the day.
Set with setting spray
After applying your winged eyeliner, lightly spritz your face with a setting spray. This will help set your makeup, including your eyeliner, and prevent smudging or fading.
Carry a small touch-up kit
If you’re going to be out for an extended period, it’s always a good idea to carry a small touch-up kit with you. Include a compact mirror, a cotton swab, and your chosen eyeliner for quick touch-ups on the go.
Avoid touching or rubbing
To prevent smudging or transferring, avoid touching or rubbing your eyes throughout the day. Be mindful when applying eye drops or wiping away tears to ensure your winged eyeliner stays intact.
With these tips and tricks, you’re well-equipped to create a flawless and stunning winged eyeliner look. Whether you’re a beginner looking to perfect your technique or an experienced winged eyeliner enthusiast eager to try new styles, remember to have fun and embrace your creativity. Happy winging!

10 Steps to Master the Angel Wing Eyeliner Look(Opens in a new browser tab)
Essence Liquid Ink Waterproof Eyeliner Review(Opens in a new browser tab)