Do you crave a luminous, ethereal glow that is reminiscent of a ghostly complexion? Look no further! In this article, we will uncover the secrets behind achieving an otherworldly radiance through the art of highlighting. Prepare to be captivated as we delve into the techniques that will leave you with a hauntingly beautiful and supernatural glow. Get ready to embrace your inner ghost and unlock the key to a truly unearthly complexion.
Choosing the Right Highlighter
When it comes to choosing the right highlighter, there are several different options to consider. Powder highlighters, cream and liquid highlighters, and stick highlighters each have their own unique textures and finishes. It’s important to choose the one that best suits your personal preferences and desired look.
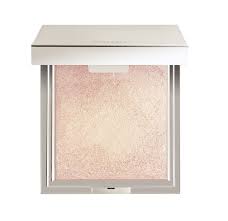
Powder Highlighters
Powder highlighters are a popular choice for those who prefer a more natural and subtle glow. They typically come in a compact form and can be applied with a brush or a sponge. Powder highlighters are great for beginners because they are easy to blend and build up for a more intense effect. They are also ideal for those with oily skin, as they can help control shine.
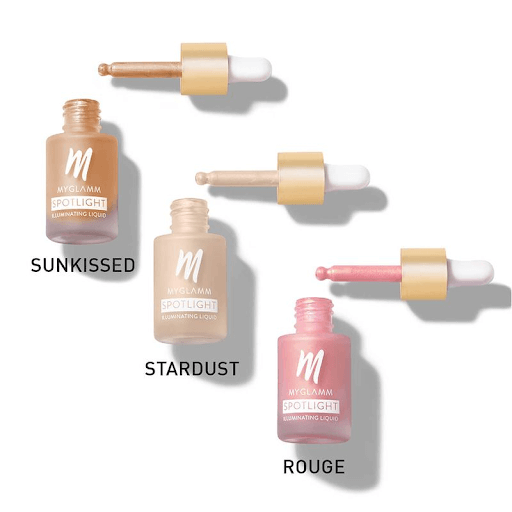
Cream and Liquid Highlighters
Cream and liquid highlighters offer a more dewy and radiant finish. They are often more pigmented than powder highlighters, giving a more intense glow. Cream highlighters are best applied with fingers or a sponge, while liquid highlighters can be applied with a brush or mixed with foundation for an all-over glow. These types of highlighters work well for those with dry or mature skin, as they provide hydration and luminosity.
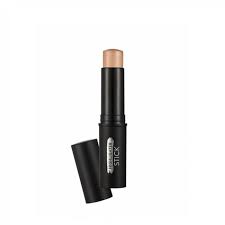
Stick Highlighters
Stick highlighters are compact and travel-friendly, making them a convenient option for on-the-go touch-ups. They come in a twist-up tube and can be applied directly to the skin for targeted application. Stick highlighters are versatile and can be used for both a subtle highlight or a more dramatic strobing effect. They are great for all skin types and can be easily blended with fingers or a brush.
Choosing the Right Shade
Choosing the right shade of highlighter is essential for achieving a natural and flattering glow. The goal is to enhance your complexion, so it’s important to choose a shade that complements your skin tone. If you have fair skin, opt for a champagne or pale pink highlighter. For medium to olive skin tones, golden or bronze highlighters work best. Those with dark skin can opt for a rich gold or copper shade. It’s important to swatch and test different shades to see which one suits you best.
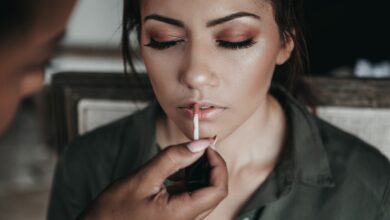
Prepping Your Skin
Before applying highlighter, it’s important to prep your skin to ensure a smooth and flawless application. This includes starting with clean and moisturized skin, applying primer, and color correcting if necessary.
Start with Clean and Moisturized Skin
Starting with clean and moisturized skin is the first step in achieving a flawless highlight. Cleansing your face removes any dirt, oils, and impurities that may interfere with the application. Follow up with a moisturizer to hydrate your skin and create a smooth canvas for the highlighter.
Apply Primer
Primer acts as a base for your highlighter, helping it to adhere better to your skin and last longer. Choose a primer that suits your skin type, whether it’s mattifying for oily skin or hydrating for dry skin. Apply a thin layer of primer all over your face or focus on the areas where you will be applying highlighter.

Color Correcting
If you have any discoloration or dark circles, color correcting can help neutralize and even out your skin tone. Use a color corrector in the opposite color of the blemish or discoloration. For example, a green color corrector can neutralize redness, while a peach or orange color corrector can cancel out dark circles. Apply the color corrector and blend it out before moving on to applying the highlighter.
Techniques for Applying Highlighter
Once your skin is prepped, it’s time to apply highlighter. There are several techniques you can use, depending on the level of intensity and glow you desire.
Basic Highlighting
Basic highlighting involves applying highlighter to the high points of the face to create a subtle and natural glow. These areas include the cheekbones, brow bone, cupid’s bow, and the bridge of the nose. Use a fluffy brush or your fingers to apply the highlighter and blend it out for a seamless finish.
Strobing
Strobing is a technique that focuses on a more intense and dramatic highlight. It involves applying highlighter to the same areas as basic highlighting, but with a heavier hand and a more pigmented product. Strobing creates a ‘lit from within’ effect and is perfect for special occasions or when you want to make a statement.
Baking
Baking is a technique commonly used in the world of makeup to set and intensify the highlight. Apply a generous amount of loose powder on top of the highlighter and leave it to sit for a few minutes. This allows the heat from your skin to set the product and intensify the glow. After a few minutes, gently dust off the excess powder with a fluffy brush.
Layering Highlighters
Layering highlighters is a great way to customize your glow and create a multidimensional effect. Start by applying a powder highlighter to the desired areas, then layer a cream or liquid highlighter on top for an added luminosity. This combination of formulas will give you a radiant and long-lasting glow.
Highlighting Different Facial Features
Highlighter can be applied to various facial features to accentuate and enhance their appearance. Here are some tips for highlighting different areas of the face.
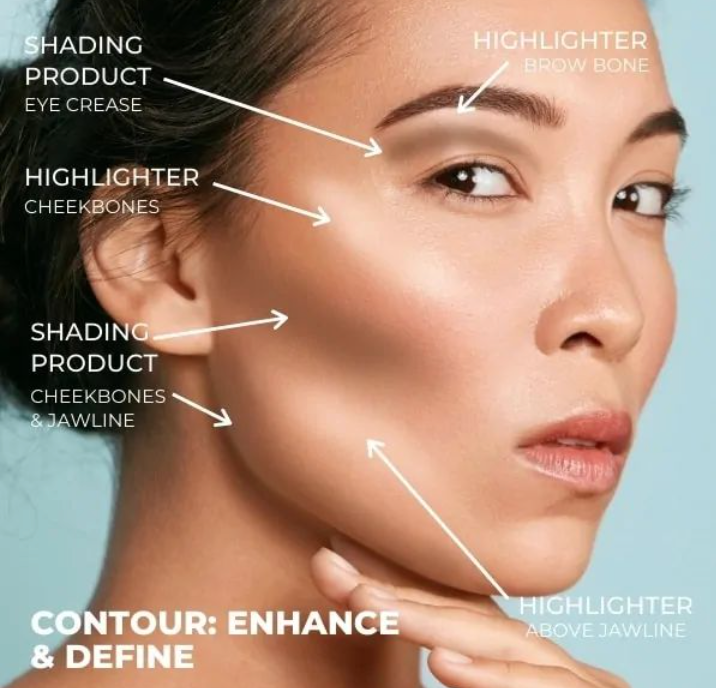
Cheekbones
To highlight your cheekbones, start from the highest point of your cheekbones and blend the highlighter upwards towards your temples. This will create a lifted and sculpted effect.
Brow Bone
Highlighting your brow bone can help define your eyebrows and create a more awake and lifted look. Apply a small amount of highlighter just below your eyebrows and blend it out.

Cupid’s Bow
Highlighting your cupid’s bow can help enhance your lips and create a fuller appearance. Apply a small amount of highlighter to the center of your upper lip and blend it out with your finger.
Nose
To highlight your nose, apply a thin line of highlighter down the center of your nose and blend it out. This will create the illusion of a straighter and more defined nose.

Inner Corner of the Eye
Highlighting the inner corner of your eye can instantly brighten and open up your eyes. Apply a small amount of highlighter to the inner corner and blend it out with your finger or a small brush.
Blending and Diffusing
Blending and diffusing your highlighter is crucial for achieving a seamless and natural-looking glow. There are several methods you can use to blend and diffuse your highlighter.
Using a Brush
Using a brush is the most common and easiest way to blend highlighter. Choose a fluffy brush and gently sweep it over the highlighter to pick up the product. Tap off any excess and then lightly blend the highlighter onto your skin using soft, circular motions. This will help diffuse the product and create a seamless glow.
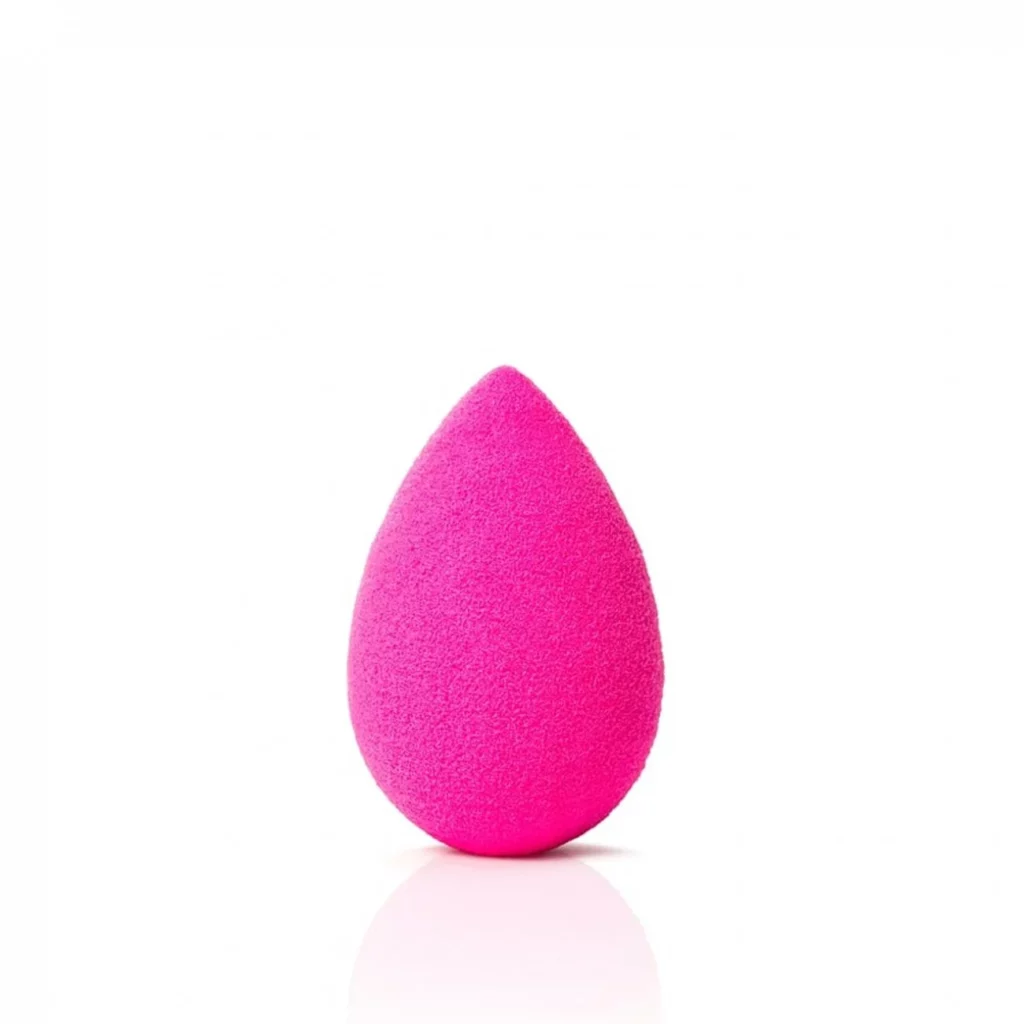
Using a Damp Beauty Blender
Using a damp beauty blender can give a more natural and airbrushed finish to your highlighter. Dampen the beauty blender with water and squeeze out any excess. Dip the blender into the highlighter and gently dab it onto your skin. The moisture in the beauty blender will help melt the highlighter into your skin for a seamless look.
Using Fingers
Using your fingers is a quick and easy way to blend and diffuse highlighter. Simply dot the highlighter onto the desired areas and gently blend it out using your fingertips. The warmth from your fingers will help melt the product into your skin for a natural finish.
Setting and Finishing the Look
To ensure that your highlighter stays in place and lasts all day, it’s important to set and finish your look.
Translucent Setting Powder
Once you have applied your highlighter, lightly dust a translucent setting powder all over your face. This will help set your makeup and prevent any unwanted shine. Be careful not to apply too much powder, as it can dull the glow of your highlighter.
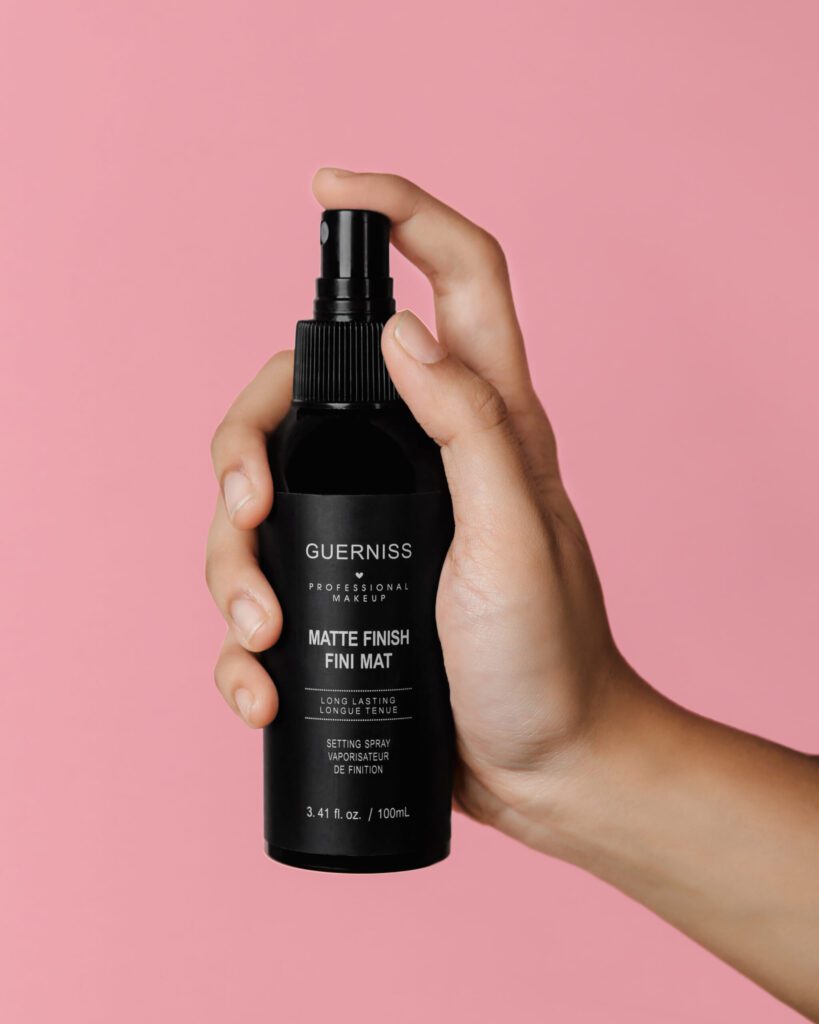
Setting Spray
To lock in your highlighter and give an extra boost of hydration, finish your makeup with a setting spray. Close your eyes and spritz the setting spray all over your face. This will help your highlighter stay in place and give your skin a radiant and dewy finish.
Highlighting for Different Skin Types
Highlighter can be used on all skin types, but it’s important to choose the right formula and technique for your specific needs.
Oily Skin
If you have oily skin, opt for a powder or stick highlighter, as they tend to be more long-lasting and mattifying. Avoid applying highlighter to areas that are prone to excess oil, such as the T-zone. Instead, focus on the higher points of your face to create a natural and glowy look.
Dry Skin
For dry skin, cream and liquid highlighters are the best options as they provide hydration and a dewy finish. These formulas will not emphasize dry patches or fine lines. Apply the highlighter on top of your foundation to create a radiant and luminous look.
Combination Skin
If you have combination skin, you can choose either a powder or a cream highlighter depending on the look you want to achieve. Apply the highlighter to the desired areas, avoiding the oily areas of your face. This will create a balanced and natural glow.
Bonus Tips and Tricks
Here are some bonus tips and tricks to help you enhance your highlighter game even further.
Enhancing the Glow with a Facial Mist
For an extra boost of radiance, spritz a facial mist over your completed makeup look. This will add hydration and give your highlighter a more intense and ethereal glow.
Using Highlighter as Eyeshadow
Highlighter can also be used as eyeshadow to create a cohesive and luminous look. Apply a small amount of highlighter to the inner corners of your eyes and blend it onto your eyelids for an instant brightening effect.
Layering Highlighter with Blush
To achieve a multidimensional look, layer your highlighter on top of your blush. Apply your blush first, then lightly dust your highlighter on top for a radiant and glowing finish.
Avoiding Common Highlighter Mistakes
While highlighter is a great tool for enhancing your features, there are a few common mistakes to avoid.
Applying Too Much Product
One of the most common mistakes when applying highlighter is using too much product. Remember, less is more. Start with a small amount of highlighter and build up the intensity if desired. This will prevent your highlighter from looking too heavy or exaggerated.
Using the Wrong Shade
Choosing the wrong shade of highlighter can create an unnatural or mismatched look. It’s important to choose a shade that complements your skin tone. Take the time to swatch different shades and test them in natural lighting before making a decision.
Not Blending Properly
Proper blending is key to achieving a natural and seamless glow. Take the time to blend your highlighter properly using the techniques mentioned earlier. This will ensure that your highlighter looks flawless and melts seamlessly into your skin.
Taking Care of Your Skin
Highlighter is a fun and versatile product, but it’s important to take care of your skin to maintain a healthy and glowing complexion.
Removing Highlighter Properly
When it’s time to remove your makeup, make sure to remove the highlighter properly. Use a gentle makeup remover or micellar water to dissolve the product and cleanse your skin thoroughly. This will prevent any buildup or clogged pores.
Moisturizing and Hydrating
Keeping your skin moisturized and hydrated is crucial for maintaining a healthy base for your highlighter. Use a moisturizer suitable for your skin type and drink plenty of water to keep your skin plump and hydrated.
Sunscreen Protection
Protecting your skin from harmful UV rays is essential for keeping your complexion healthy and youthful. Apply a broad-spectrum sunscreen with an SPF of at least 30 every day, even on cloudy days. This will prevent sun damage and ensure your highlighter maintains its radiant glow.
In conclusion, choosing the right highlighter, prepping your skin, applying techniques, and taking care of your skin are all important factors to consider to achieve a flawless and glowing complexion. With the right products and techniques, you can create a stunning highlight that enhances your natural beauty and radiates confidence. Experiment with different shades and application methods to find what works best for you, and remember to have fun and embrace your inner glow. Happy highlighting!