Get ready to step up your pedicure game with Stylish.ae! In this article, you’ll discover a step-by-step guide to perfecting the pedicure process. Whether you’re a beginner or a seasoned pro, we’ve got you covered. From preparing your feet to choosing the right polish, we’ll walk you through each stage with expert tips and tricks. Say goodbye to smudged polish and hello to salon-worthy results right at home. Get ready to pamper your feet and step out in style!

Preparation
Before you embark on your at-home pedicure journey, it’s important to make sure you have all the necessary tools and products. Here’s a list of what you’ll need:
Trimming the nails
Start by trimming your nails to your desired length. It’s best to use nail clippers specifically designed for toenails to ensure a clean and precise cut. Hold the clippers at a slight angle and trim straight across, avoiding rounded edges to prevent ingrown nails.
Soaking the feet
After trimming your nails, it’s time to give your feet some well-deserved relaxation. Fill a basin with warm water, enough to comfortably cover your feet. You can add a few drops of your favorite essential oil or Epsom salt to enhance the experience. Soak your feet for about 10-15 minutes to soften the skin and prepare for the next steps.
Exfoliating the feet
Now that your feet are nice and soft, it’s time to exfoliate away any dead skin cells. Choose a gentle foot scrub that suits your skin type and apply it to your feet, focusing on rough patches and calluses. Gently massage the scrub into your skin using circular motions. Rinse off the scrub thoroughly to reveal smoother and softer feet.

Pushing back the cuticles
To ensure a clean and polished look, it’s important to push back your cuticles. Soak a cuticle pusher or an orangewood stick in warm water to soften the cuticles. Gently and carefully push back the cuticles, being cautious not to damage or injure them. This step will help create a neater nail bed and allow for better application of nail polish.
Choosing the Right Tools and Products
When it comes to an at-home pedicure, having the right tools and products is key to achieving professional-looking results. Here’s a list of essential items you should have on hand:
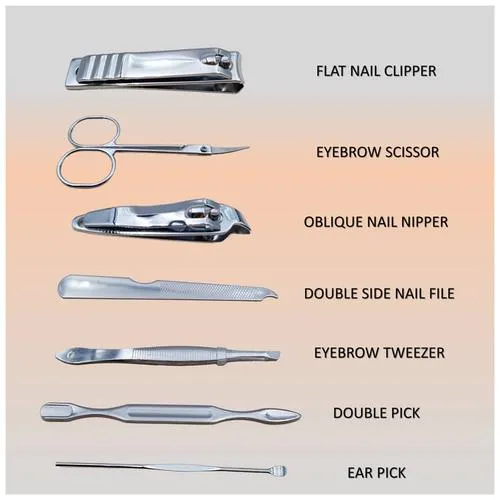
Nail clippers
Invest in a good pair of toenail clippers that are sharp and designed specifically for trimming nails. This will ensure a clean and precise cut, preventing any potential damage or uneven edges.
Nail file
A nail file is essential for shaping and smoothing your nails after trimming. Opt for a quality file with different grits, as this will allow you to shape and refine the nail to your desired shape.
Cuticle pusher
A cuticle pusher is a handy tool used to gently push back the cuticles. Look for a pusher with a soft, rounded edge to avoid any damage or discomfort to the surrounding skin.
Foot scrub
Choose a foot scrub that suits your skin type and preferences. Look for ingredients like pumice, sugar, or salt for effective exfoliation. Make sure the scrub also contains nourishing ingredients to keep your skin moisturized.
Cuticle oil
Investing in a nourishing cuticle oil is a game-changer for your pedicure routine. Look for oils that contain moisturizing ingredients like jojoba oil, vitamin E, or sweet almond oil. Applying cuticle oil regularly will help keep your cuticles soft and prevent them from drying out.
Nail polish remover
If you have old nail polish on your nails, you’ll need a nail polish remover to clean them. Opt for a non-acetone formula to prevent excessive drying of your nails and cuticles.
Base coat
A base coat is an important step in your pedicure routine as it helps create a smooth canvas for the nail polish. It also prevents staining and prolongs the wear of your chosen color.
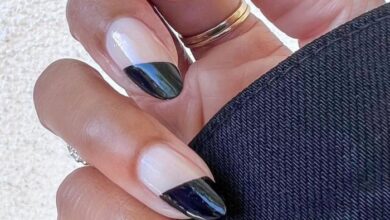
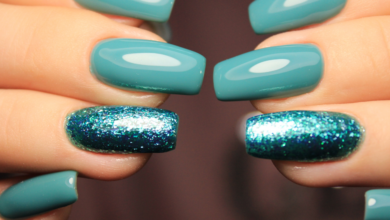
Nail polish
Choose a nail polish color that suits your mood and preference. From vibrant shades to classic neutrals, the possibilities are endless. Make sure to select a formula that is long-lasting and chip-resistant for a flawless pedicure.

Top coat
A top coat is the finishing touch to seal and protect your nail polish. Look for a top coat that is quick-drying and provides a high-gloss shine. This will ensure your pedicure stays intact for days to come.
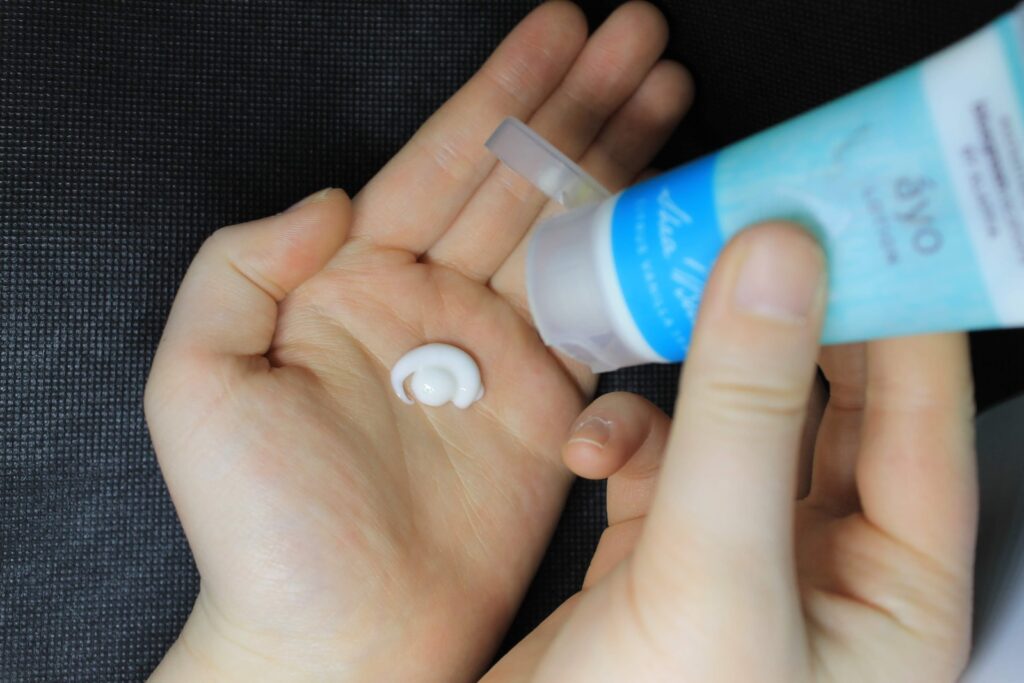
Moisturizer
To keep your feet soft and hydrated, it’s essential to use a moisturizer after your pedicure. Look for a foot cream or lotion that contains nourishing ingredients like shea butter or coconut oil. Apply the moisturizer generously and massage it into your feet for an extra pampering experience.

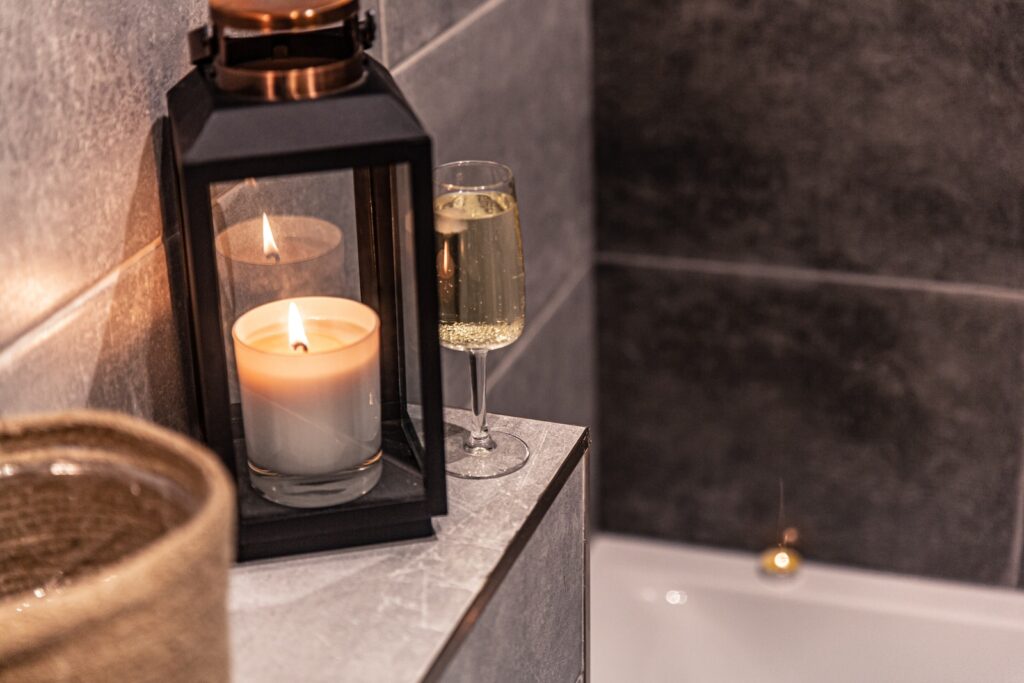
Creating a Spa-like Experience at Home
Transforming your at-home pedicure into a spa-like experience is easier than you may think. By setting the mood and incorporating a few key elements, you can create an ambiance that will transport you to a luxurious spa retreat.
Setting the mood
Dim the lights, light some scented candles, and play some relaxing music to set the perfect ambiance for your at-home spa experience. Creating a peaceful and tranquil atmosphere will help you unwind and fully enjoy your pedicure.
Creating a foot bath
Prepare a foot bath by filling a basin with warm water. Add a few drops of your favorite essential oil or a scoop of Epsom salts to enhance the relaxation and soothing benefits. The warm water will help soften the skin and relieve tired muscles.
Applying a soothing mask
Indulge your feet with a soothing mask to nourish and hydrate the skin. Look for foot masks or creams that contain ingredients like aloe vera or tea tree oil to soothe and heal. Apply the mask generously to your feet and let it sit for the recommended amount of time before rinsing off.
Massaging the feet
After applying the mask, take some time to pamper your feet with a relaxing massage. Use your favorite massage oil or lotion and gently knead the muscles of your feet and calves. Pay extra attention to any areas of tension or soreness. The massage will not only relax your feet but also improve blood circulation and alleviate any aches or pains.
Trimming the Nails
Properly trimming your nails is an essential step in achieving a well-groomed and polished look for your pedicure. Here’s a guide to help you trim your nails like a pro:
Choosing the right nail shape
When it comes to nail shapes, there are several options to choose from. The most common shapes for toenails are square, round, and oval. Choose the shape that best suits your personal style and comfort. Remember to trim the nails straight across and avoid rounding the corners to prevent ingrown nails.
Using nail clippers
To trim your nails, hold the nail clipper at a slight angle and position it just above the edge of your nail. Make sure you leave a bit of length to avoid cutting too short. Press the clippers down in one smooth motion to trim the nail. Repeat this process for each nail, being careful not to rush or apply excessive force.
Filing the nails
After trimming, it’s time to shape your nails with a nail file. File the edges in one direction, starting at the corners and moving towards the center. Avoid back-and-forth sawing motions, as this can weaken the nail and lead to breakage. Shape the nail to your desired length and smooth out any rough edges. Be gentle and take your time to achieve a neat and polished appearance.

Soaking the Feet
Soaking your feet in warm water not only provides relaxation but also prepares your skin for exfoliation and other treatments. Follow these steps to create the perfect foot soak:
Preparing a warm foot bath
Fill a basin or tub with warm water, making sure it’s at a comfortable temperature. You don’t want it to be too hot or too cold. Fill the basin enough to cover your feet, but not so much that it overflows when you put your feet in.
Adding Epsom salt or essential oils
To enhance the benefits of your foot soak, consider adding Epsom salt or a few drops of essential oil. Epsom salt helps relax muscles and can soothe tired feet, while essential oils provide a pleasant aroma and have therapeutic properties. Lavender, peppermint, and tea tree oil are popular choices for foot soaks.

Soaking the feet for relaxation
Once your foot bath is ready, sit back and relax as you immerse your feet in the warm water. Allow your feet to soak for around 10-15 minutes, or longer if you prefer. This time will help soften the skin and make it easier to remove any dead skin cells during the exfoliation process. Take this opportunity to enjoy some quiet time, listen to music, or read a book to fully unwind.
Exfoliating the Feet
Exfoliating your feet is an important step in your pedicure routine to remove dead skin cells and reveal healthier, smoother skin. Follow these steps to exfoliate your feet effectively:
Removing dead skin cells
Before you start exfoliating, remove any nail polish on your toes using a non-acetone nail polish remover. This will ensure that the exfoliating products can penetrate the skin properly.
Choosing a foot scrub
There are various foot scrubs available on the market, ranging from chemical-based to natural options. Look for a scrub that contains exfoliating ingredients like pumice, sugar, or salt. Avoid scrubs with harsh, sharp particles that can damage the skin.
Gently scrubbing the feet
Apply the foot scrub to your damp skin, focusing on rough patches, calluses, and any areas of dryness. Use gentle circular motions to massage the scrub into your skin. Be sure to pay attention to your heels and the balls of your feet, as these are common areas prone to dryness and roughness. Take your time and enjoy the process. Don’t forget to exfoliate between your toes as well.
Rinsing off the scrub
Once you’re satisfied with the exfoliation, rinse off the scrub thoroughly with warm water. Make sure you remove all the scrub residue to prevent any potential irritation. Pat dry your feet with a soft towel, and admire the renewed softness and smoothness of your skin.

Pushing Back the Cuticles
Pushing back your cuticles helps create a neater look and allows for better application of nail polish. Here’s how to do it safely:
Softening the cuticles
To make the cuticles more pliable, soak your cuticles in warm water or apply a cuticle softening solution. You can create a simple DIY solution by mixing warm water with a few drops of gentle soap or baby oil. Soak your fingertips in this mixture for a few minutes to help soften the cuticles.
Using a cuticle pusher
Once the cuticles are softened, use a cuticle pusher or an orangewood stick to gently push them back. Be cautious and avoid applying too much pressure, as this can cause injury or damage to the nail bed. Start from one side and work your way around, being mindful of any resistance or discomfort.
Being gentle and cautious
It’s essential to be gentle and cautious when pushing back your cuticles. Never cut or trim your cuticles, as this can lead to infections or damage to the nails. Remember, the goal is to create a neat and tidy nail bed, not to remove the cuticles entirely.
Applying Cuticle Oil
Applying cuticle oil is a crucial step in your pedicure routine as it helps keep the cuticles hydrated and nourished. Here’s how to apply cuticle oil effectively:
Choosing a nourishing cuticle oil
There are many cuticle oils available on the market, so it’s important to choose one that contains nourishing ingredients. Look for oils with moisturizing properties like jojoba oil, vitamin E, or sweet almond oil. These ingredients will help keep your cuticles and nails healthy and hydrated.
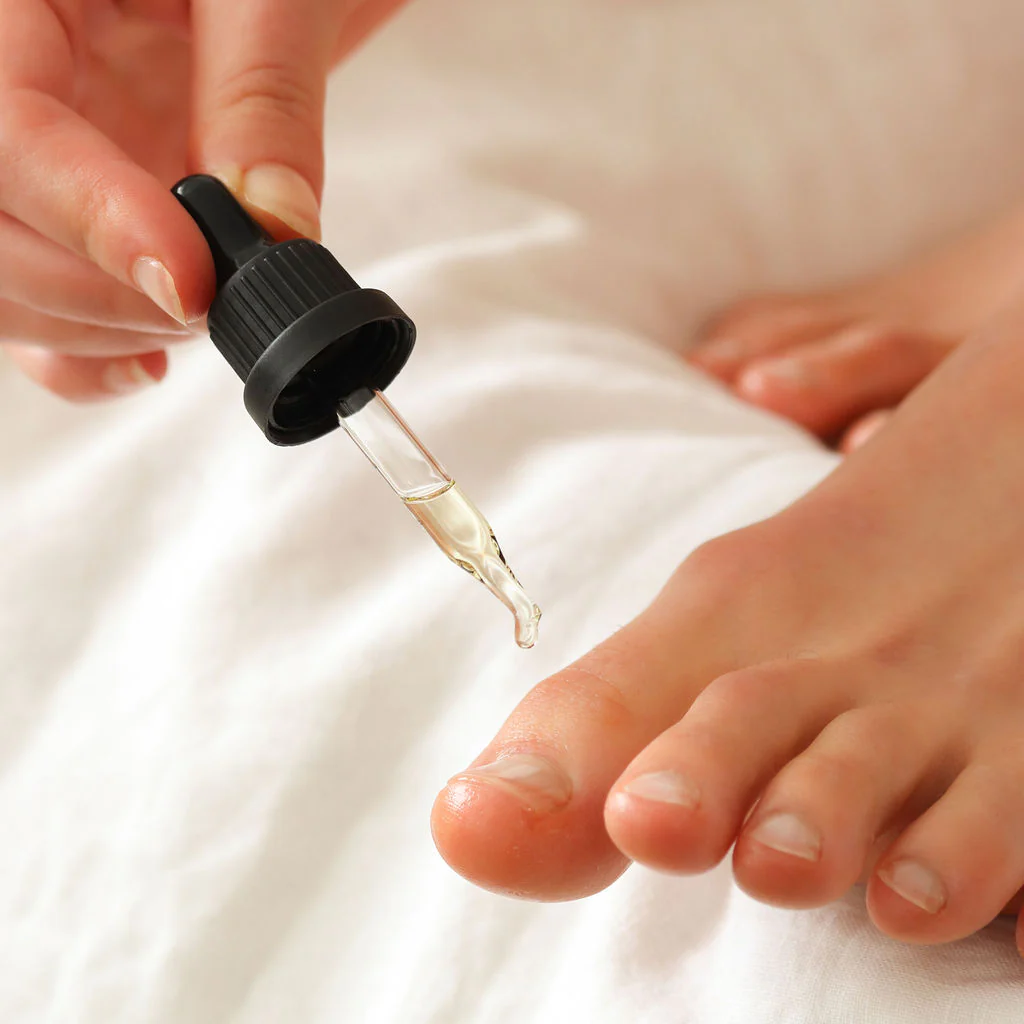
Applying a small amount to each nail
Once you’ve selected your cuticle oil, apply a small amount to each nail. Use the brush applicator or a dropper to dispense the oil directly onto the cuticles. Gently massage the oil into the cuticles using your fingertips, ensuring that it is evenly distributed.
Massage the cuticles for absorption
Take a moment to massage the cuticles and surrounding nail area after applying the oil. This not only helps with absorption but also improves blood circulation, promoting healthy nail growth. Enjoy the nourishing benefits of the oil as you massage each nail, and let it soak in for a few minutes before moving on to the next step.

Removing Old Nail Polish
Before you can apply a fresh coat of nail polish, it’s important to remove any old polish from your nails. Follow these steps for a clean slate:
Using a non-acetone nail polish remover
Choose a non-acetone nail polish remover to avoid drying out your nails and cuticles. Acetone-based removers can be harsh and strip away natural oils, leaving your nails brittle and dry.
Soaking a cotton pad with remover
Soak a cotton pad with a moderate amount of nail polish remover. Be sure not to saturate the pad, as excess liquid can drip and potentially damage surfaces.
Wiping off the old nail polish
Press the soaked cotton pad onto your nail and hold it in place for a few seconds to allow the remover to break down the polish. Once the polish begins to loosen, gently wipe the pad across your nail, focusing on the entire surface. Repeat this process for each nail until all the old polish is removed.
Maintaining the Pedicure
To make your pedicure last longer and keep your feet looking their best, it’s important to follow some maintenance tips. Here are some essential practices:
Avoid wearing tight shoes
To prevent smudging or chipping of your freshly painted nails, avoid wearing tight shoes immediately after your pedicure. Give your nails ample time to dry and set before putting on closed-toe shoes. Opt for sandals or open-toe shoes if possible to allow your nails to breathe and prevent any pressure or friction.
Moisturizing the feet daily
To maintain soft and smooth feet, make it a habit to moisturize your feet daily. Apply a nourishing foot cream or lotion, paying special attention to the heels and any dry areas. Massaging the moisturizer into your skin will not only hydrate but also improve blood circulation. This step will prolong the benefits of your pedicure and prevent dryness or cracking.
Touching up the nail polish when needed
Over time, your nail polish may chip or show signs of wear. To keep your pedicure looking fresh, consider touching up the nail polish when needed. Apply a small amount of nail polish to the affected area, making sure to blend it seamlessly with the existing polish. Follow up with a top coat to seal and protect the color.
With these comprehensive steps and techniques, you’re well-equipped to perfect your pedicure process at home. Remember to take your time, enjoy the experience, and pamper yourself from head to toe. Your feet will thank you for the love and care, and you’ll be ready to show off your gorgeous pedicure wherever you go!
Cuticle Care 101: Maintaining Nail Health The Stylish.ae Way(Opens in a new browser tab)
Unlocking The Secrets To Fuller, Thicker Hair | Stylish.ae(Opens in a new browser tab)
NIVEA MEN Face Scrub Exfoliating Review(Opens in a new browser tab)