In the world of hair coloring, there is a technique that has taken the industry by storm – the color melt. It is a method that seamlessly transitions hair color from one shade to another, creating a stunning gradient effect. Whether you want to go from dark to light or experiment with vibrant hues, mastering the art of color melt is essential. In this article, we will explore the ins and outs of this technique, uncovering the secrets behind achieving a seamless hair color transition that will leave everyone in awe.
What is Color Melt?
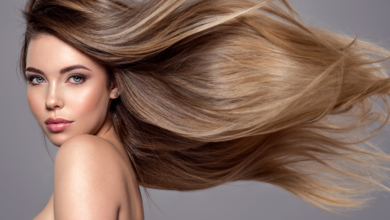
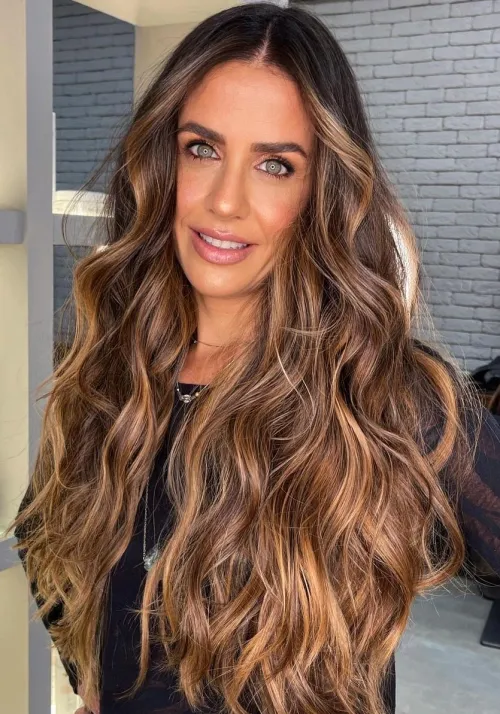
Color Melt is a popular hair coloring technique that creates a seamless and gradual transition between different shades of color. It involves blending multiple colors together, typically starting with a darker shade at the roots and gradually transitioning to lighter shades towards the ends of the hair. The result is a beautiful, natural-looking gradient effect that adds dimension and depth to the hair.
Definition of Color Melt
Color Melt is a hair coloring technique that involves blending multiple shades of color together in a seamless and gradual transition. It creates a natural-looking gradient effect, starting with a darker shade at the roots and transitioning to lighter shades towards the ends of the hair.
History of Color Melt
The color melting technique has gained popularity in recent years, but its origins can be traced back to the 1990s. It was during this time that hair stylists started experimenting with blending techniques, aiming to create a more seamless and natural-looking hair color. Over the years, color melt has evolved and become a go-to technique for many hairstylists and clients alike.
Benefits of Color Melt
Color Melt offers a range of benefits that make it a desirable hair coloring technique. Firstly, it creates a natural-looking gradient effect, which adds depth and dimension to the hair. This technique also allows for a seamless transition between colors, making it suitable for both subtle and dramatic hair color changes. Additionally, it can be customized to suit different hair lengths, textures, and personal preferences. The gradual color transition of the melt also results in a low maintenance hairstyle, as it grows out more gracefully than solid color.
Preparing for a Color Melt
Preparing for a color melt involves several important steps to ensure the best results. From a hair consultation to patch testing, each step plays a crucial role in achieving the desired color melt.
Hair Consultation
Before starting the color melt process, it is essential to have a thorough hair consultation with a professional hairstylist. During this consultation, you and your stylist can discuss your desired outcome, the colors you want to incorporate, and any concerns or limitations. Your stylist will evaluate your hair’s current condition, assess its suitability for color melt, and provide recommendations based on your hair type, color history, and maintenance preferences.
Determining the Base Color
Once the consultation is complete, your stylist will determine the base color for your color melt. The base color typically matches your natural hair color or your preferred starting point. It is important to consider your skin tone, as the base color should complement and enhance your complexion.
Choosing the Color Melt Shades
After determining the base color, you and your stylist will choose the shades to be blended in your color melt. This is where creativity comes into play, as you can experiment with various tones and combinations to achieve the desired effect. Your stylist will help guide you in selecting shades that work well with your skin tone and hair color.
Patch Test
Before applying any hair color, it is crucial to perform a patch test to check for any potential allergic reactions or sensitivities. Apply a small amount of the color mixture behind your ear or on your inner arm and leave it on for the recommended time. If you experience any redness, itching, or discomfort, do not proceed with the color melt process and consult with your hairstylist.
Preparing the Hair
To ensure optimal color results, it is important to prepare your hair before the color melt process. This includes washing your hair one to two days prior to your appointment to allow the natural oils to build up, which can help protect your scalp during the coloring process. Your stylist may also recommend using a clarifying shampoo to remove any build-up or residues that could interfere with the color absorption.

Color Melt Techniques
Color melt can be achieved through various techniques, each offering a unique approach to creating the seamless transition between colors. Here are some popular techniques used by hairstylists:
Balayage
Balayage is a French hair coloring technique that involves freehand painting of color onto the hair, creating a natural-looking sun-kissed effect. Balayage is often used as a base technique for color melt, as it allows for precise placement of the colors and seamless blending.
Ombre
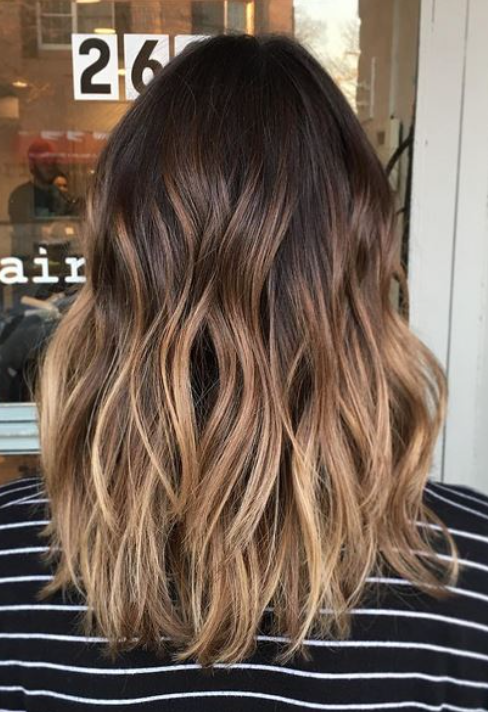
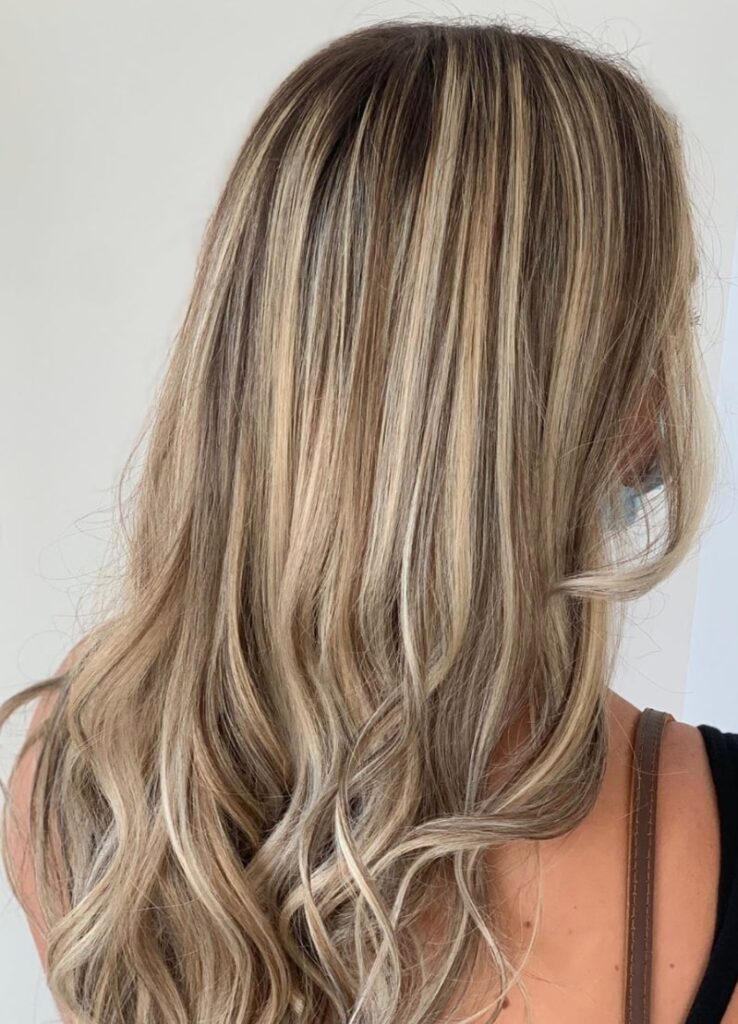
Ombre is a technique where the hair transitions from a dark color at the roots to a lighter color towards the ends. It can be blended in a subtle, gradual manner, or it can have a more stark contrast. Ombre is a great option for those who want a bolder, high-contrast color melt.
Sombre
Sombre, short for “subtle ombre,” is a variation of the ombre technique but with a softer and more subtle color transition. The colors used in sombre are usually closer in shade to the natural hair color, resulting in a more understated and natural-looking color melt.
Foiling
Foiling is a technique commonly used in color melts to create more defined sections of color. It involves using foils to isolate specific sections of hair and applying the desired color or colors. This technique is often used when creating a more dramatic or fashion-forward color melt.
Color Melting
Color melting, as the name suggests, is the technique that specifically focuses on creating a seamless and blended transition between different colors. It involves applying multiple colors to the hair and blending them together using various methods, such as brushing, feathering, or using a comb.
Peekaboo Color Melt
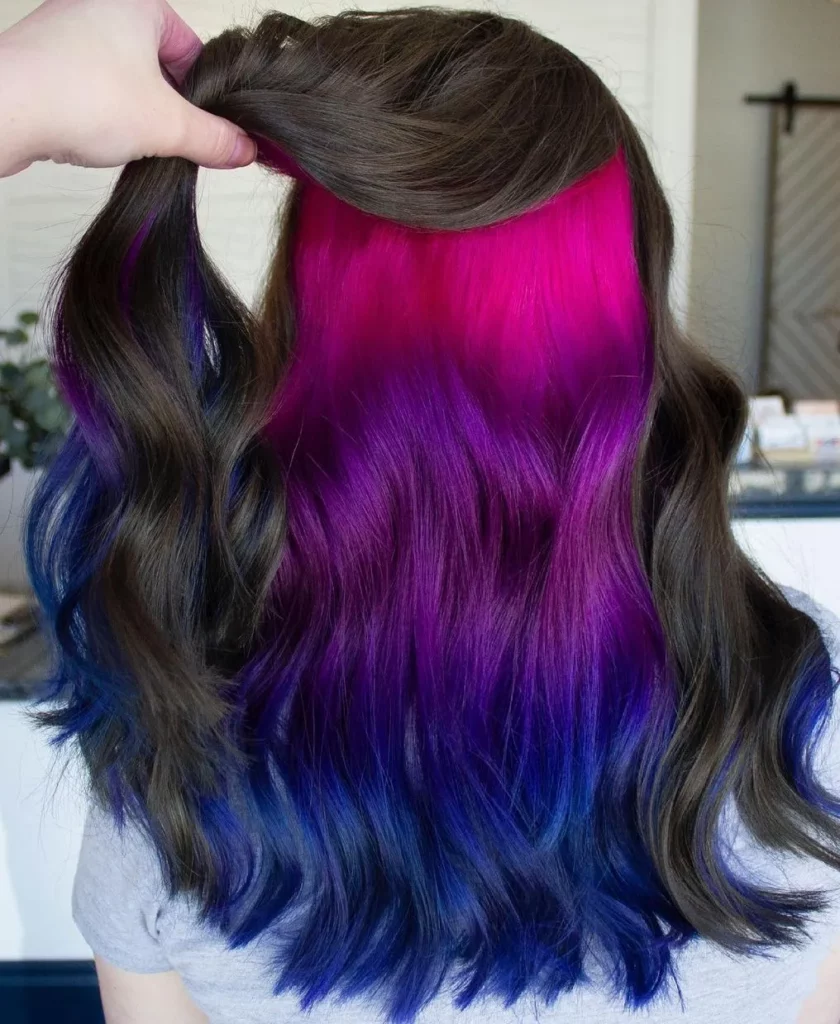
The peekaboo color melt technique involves placing vibrant or contrasting colors underneath the top layer of hair. When the hair is styled or moved, these hidden colors peek through, creating a subtle or bold effect depending on the selected shades. This technique adds an element of surprise and dimension to the overall look.
Tools and Materials
To achieve a flawless color melt, hairstylists rely on various tools and materials. Here are some of the essential items needed:
Color Brushes
Color brushes are used to apply the hair color with precision and control. Different brush sizes and shapes can be used depending on the technique and area of the hair being colored.
Color Bowls
Color bowls are used to mix the hair color and any necessary additives, such as developer or toner. They come in different sizes and materials, allowing for easy mixing and application.
Protective Gloves
Protective gloves are a must when working with hair color to protect the hands from staining and potential irritation. Latex or nitrile gloves are commonly used, and it’s important to choose gloves that fit comfortably and securely.
Foils
Foils are used in specific color melt techniques, such as foiling or peekaboo color melts. They help isolate sections of hair that require different colors, allowing for a more precise application.
Sectioning Clips
Sectioning clips are used to divide the hair into manageable sections during the color melt process. They help keep the hair organized and prevent any unintentional color blending.
Hair Cap
A hair cap can be used in some color melt techniques where heat is applied to help the color develop more effectively. It helps trap the heat close to the hair, allowing for better color penetration.
Color Remover
Color remover is a useful tool when correcting or adjusting the color melt. It helps remove unwanted pigments or previous color applications, allowing for a clean canvas for the new color melt.
Color Developer
Color developer, also known as peroxide, is a necessary component used to activate the hair color. Different volumes of developer are used depending on the desired result and the hair’s condition.
Hair Toner
Hair toner is often used in the color melt process to adjust the color and achieve the desired shade. Toners can help neutralize unwanted undertones or enhance certain color tones.
Color Melt Shades
The selection of color melt shades is crucial in achieving the desired result. The shades should be chosen based on the desired look, skin tone, and personal preference. It is recommended to consult with a professional hairstylist to ensure the best shade choices for your color melt.

The Color Melt Process
The color melt process involves several steps to achieve the seamless transition of colors. Here is a breakdown of the process:
Sectioning the Hair
To start the color melt process, the hair is divided into sections using sectioning clips. This helps to ensure each section is evenly colored and prevents color from accidentally blending. The number of sections and their placement may vary depending on the desired color melt and specific technique.
Applying Color to the Roots
The first step in the color melt process is applying the base color to the roots. This is typically the darkest shade and should be applied carefully to avoid any overlapping onto already lightened hair. It’s important to use a color brush to ensure precise application and avoid staining the scalp.
Blending the Colors
Once the base color is applied, the remaining shades are applied to the mid-lengths and ends of the hair. The colors are blended together using various techniques, such as brushing, feathering, or combing. This blending process ensures a seamless transition between the colors, creating the desired color melt effect.
Balancing the Transition
During the color melt process, it’s important to continuously assess the color transition and adjust as needed. The stylist will ensure a balanced and even gradient, making any necessary adjustments to ensure a seamless blend.
Processing Time
The processing time for a color melt will vary depending on the desired color result and the color products used. It is essential to follow the manufacturer’s instructions and consult with your stylist to determine the appropriate processing time. During this time, the color is allowed to develop and penetrate the hair shaft.
Rinsing and Conditioning
After the processing time is complete, the hair is rinsed thoroughly to remove any excess color. A color-safe shampoo is used to cleanse the hair, followed by a deep conditioner or hair mask to moisturize and nourish the hair. Proper rinsing and conditioning are crucial in maintaining the color’s vibrancy and the overall health of the hair.
Maintaining Color Melt
To keep your color melt looking vibrant and fresh, it’s important to establish a proper hair care routine and follow some key maintenance tips. Here are some tips to help you maintain your color melt:
Color-Safe Shampoos and Conditioners
Using color-safe shampoos and conditioners specifically formulated for colored hair is essential in maintaining the vibrancy of your color melt. These products are designed to gently cleanse the hair without stripping away the color.
Avoiding Hot Water
Hot water can strip the hair of its natural oils and cause the color to fade faster. It is best to wash your hair with lukewarm or cool water to help preserve your color and keep it looking vibrant for longer.
Protective Styling
To minimize damage from heat styling tools and environmental factors, it’s important to use protective styling techniques. This can include using heat protectant sprays before using heated tools and wearing a hat or scarf to protect your hair from the sun’s harmful UV rays.
Regular Touch-ups
As your hair grows, the color melt may start to lose its seamless transition. Regular touch-up appointments with your hairstylist can help maintain the color melt and keep it looking fresh. Depending on your hair growth rate, touch-ups are typically needed every 6 to 8 weeks.
UV Protection
Exposure to the sun’s UV rays can cause color fade and damage to the hair. Using UV protection hair products, wearing a hat, or using protective hair sprays with SPF can help shield your color melt from the sun.
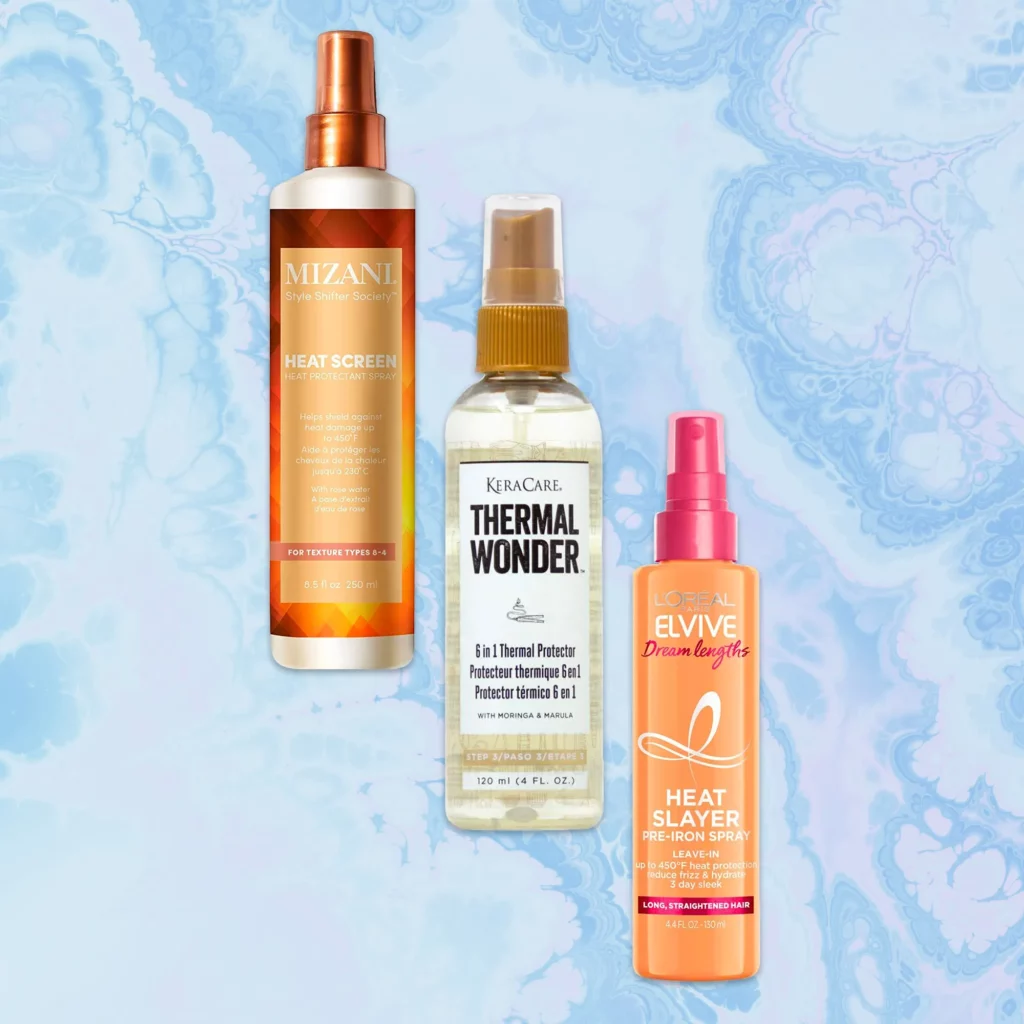
Using Heat Protectants
When using heated styling tools such as flat irons or curling irons, it’s important to use a heat protectant spray. Heat protectants create a barrier between the hair and the heat, minimizing damage and color fade.
Tips and Tricks
Here are some tips and tricks to enhance your color melt and achieve the best results:
Customizing Color Melts
Color melts can be customized to suit individual preferences and styles. Adding pops of vibrant colors or subtle pastel shades can create a unique and personalized color melt.
Using Different Color Mixes
Experimenting with different color mixtures can help achieve a one-of-a-kind color melt. Blending warm and cool tones or mixing complementary colors can create stunning effects and enhance the dimension of the color melt.
Applying Gloss for Shine
Adding a gloss treatment to your color melt can enhance shine and give your hair a healthy, vibrant appearance. Gloss treatments can also help seal the cuticle, making the hair appear smoother and reducing frizz.
Creating Dimension
To add more depth and dimension to your color melt, your stylist can incorporate a variety of techniques such as lowlights, highlights, or babylights. These techniques create contrast and give the color melt a multi-dimensional look.
Blending Techniques
Experimenting with different blending techniques can create unique effects in your color melt. Feathering, smudging, or using a balayage technique can result in a softer and more diffused color transition.
Working with Different Hair Lengths
Color melt can be achieved on hair of various lengths, from short pixie cuts to long cascading locks. Your stylist will adapt the color melt technique to suit your hair length, ensuring the most flattering and seamless result.

Common Mistakes to Avoid
To ensure a successful color melt, it’s important to avoid common mistakes that can negatively impact the outcome. Here are some mistakes to avoid:
Mismatched Colors
Choosing colors that do not complement each other can lead to an unflattering color melt. It’s essential to consult with your stylist and select shades that work harmoniously together.
Uneven Application
Applying the colors unevenly can result in an unbalanced and patchy color melt. Take your time during the application process and ensure each section of hair is evenly coated with the appropriate color.
Overprocessing
Leaving the color on for too long or using color products with high levels of developer can lead to overprocessing. This can cause damage to the hair and result in an uneven and unnatural color melt.
Skipping the Patch Test
Neglecting to perform a patch test can increase the risk of allergic reactions or sensitivities to the hair color. Always perform a patch test prior to the color melt process to ensure your safety.
Inadequate Blending
Insufficient blending of the colors can result in a harsh and streaky color melt. Take the time to thoroughly blend the colors together using the appropriate techniques to achieve a seamless transition.
Using Incorrect Developer Volume
Using the wrong volume of developer can lead to undesirable results. Always consult with your stylist to determine the appropriate developer volume for your specific color melt.

Color Melt Inspiration
Color melt is a versatile technique that can be customized to suit various styles, hair textures, and lengths. Here are some sources of inspiration for your color melt:
Celebrity Color Melts
Celebrities often showcase unique and stunning color melts on the red carpet and in the media. Look to celebrities like Rihanna, Blake Lively, or Zendaya for inspiration and ideas for your own color melt.
Fashion Hair Color Trends
Fashion weeks and runways are great sources of inspiration for hair color trends. Keep an eye out for color melts showcased by fashion designers and stylists to stay on top of the latest trends.
Color Melt on Different Hair Textures
Color melt can be achieved on various hair textures, from straight to curly or coily. Look for examples of color melts on different hair textures to see how this technique can enhance the natural beauty of each hair type.
Color Melt on Different Hair Lengths
Hair length doesn’t limit the possibilities of a color melt. From short bobs to long flowing locks, color melts can be adapted to suit any hair length. Look for examples of color melts on different hair lengths to see how this technique can transform your hairstyle.
Color Melt for Special Occasions
If you have a special occasion coming up, consider incorporating a color melt into your hairstyle. From weddings to parties, a color melt can add a touch of uniqueness and flair to your overall look.
Conclusion
Color melt is a versatile and popular hair coloring technique that creates a seamless transition between different shades of color. From its natural-looking gradient effect to its customizable options, color melt offers a range of benefits for those looking to enhance their hairstyle. By following the necessary preparation steps, utilizing the appropriate tools and techniques, and maintaining your color melt correctly, you can achieve stunning and long-lasting results. Consult with a professional hairstylist to determine the best color melt options for your hair type, desired outcome, and personal style. With proper care and maintenance, your color melt can continue to turn heads and make you feel confident and stylish.